


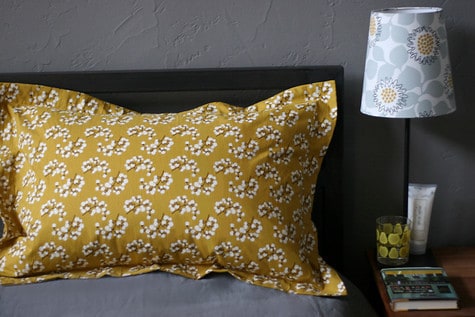
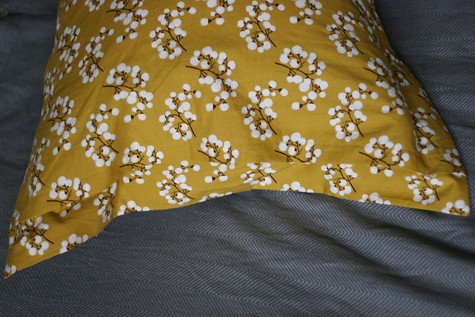
“We” have a strict 4 pillow, 2 per person, rule in our bed. Here is my solution for having pretty pillows that you can still sleep on. This design is unique in that there is not a seam down the middle on the back. You could even use a different fabric on the back for a semi-reversible pillow, which is something like having more pillows, right?
Find the DIY for Sham-Style Pillowcases after the jump.
The sizes listed are for a king-size pillow. You can easily alter the dimensions by measuring a pillowcase that fits your pillow and adding 5″ to the height and width.
For one king-size pillow I used:
1 piece 26″ x 36″
1 piece 26″ x 35″
1 piece 26″ x 9″ (I sewed the narrow leftover strips of fabric from the other two pieces together to make this third piece, allowing one pillow to be made from 1.5 yards of fabric total. Since this piece is mostly hidden, it worked great.)
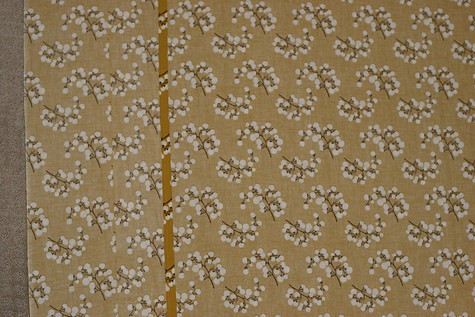
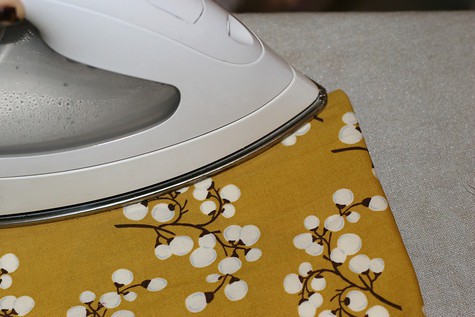
1. Along the 26″ length of the 26″x9″, fold over a 1/2″ seam, iron, fold over 1/2″ again and iron. (2 shown.) Ignore the seam down the middle, that is where I patched the fabric together.
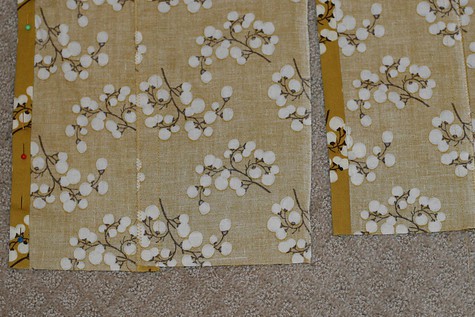
2. Along the 26″ length of the 26″ x 35″, fold over a 1/2″ seam, iron, fold over 1/2″ again and iron. (2 shown)
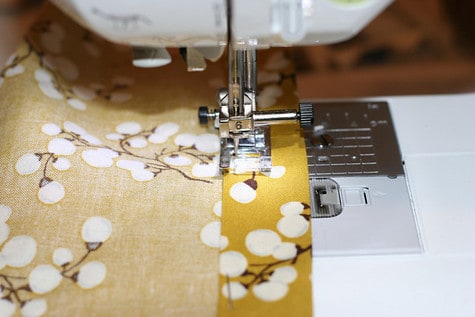
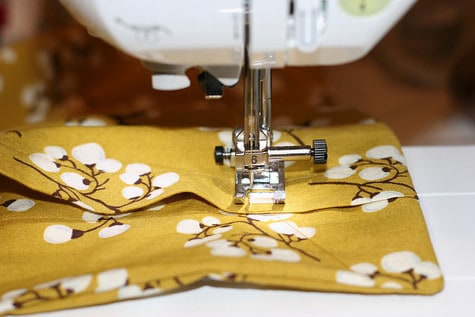
3. Straight stitch hem on both pieces approx 1/8″ from inside edge.
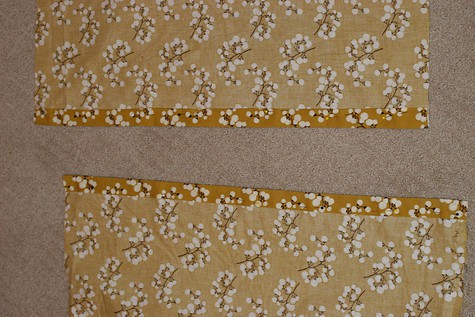
4. Lay down 26″x36″ piece with right-side-up and lay 26″x35″ on top, right-side-down, aligning the 3 raw edges.

5. Now lay down the 26″x9″ piece right-side-down, aligning the 3 raw edges on the opposite end.
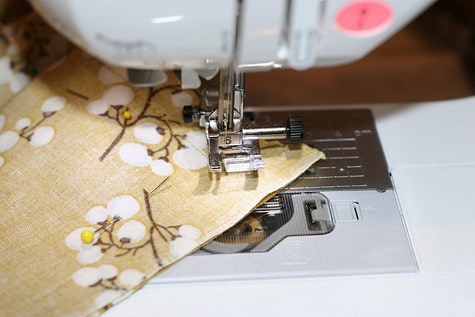
6. Pin all around and sew 1/2″ from edge all the way around. If your machine has a setting for automatically stopping with needle down, this is a great time to use it. When you get to a corner, lift the foot, turn the fabric using the needle (in the down position) to hold it in place, then lower your foot and continue sewing the next side.
7. Trim a bit of fabric from all four corners.
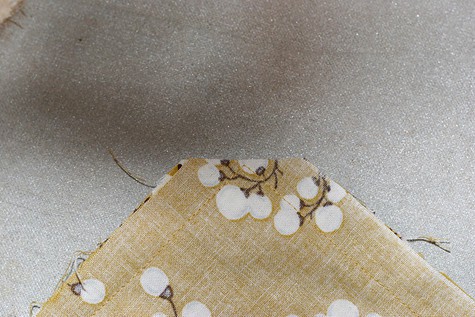
8. Make sure you remove ALL pins at this point. Turn your piece inside-out and use a pointy object (crochet hook works great) to make sharp corners.
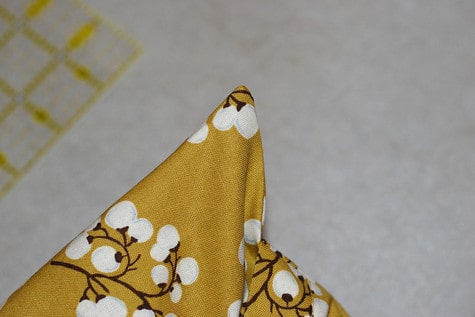
9. Iron your outer edge. I use a piece of cardboard inside the pillow to get a nice straight edge.
10. Pin the pillow all the way around approximately 3″ from the edge.
11. Starting along the short side of your pillow (the side with the opening.) Begin 2″ in and 2″ from the side. Your stitch will be very close to your opening but do not sew your opening closed. When you get 2″ from the end of that side, use the method mentioned above to turn your corner.

12. After you turn, sew entire length. stopping 2″ from edge. You will sew across the opening slit on this side, make sure all layers are flat and straight.

13. Repeat for the last two sides. You will meet up where you started just after crossing over the opening for a second time.
And you’re done! Except that you probably need to make a pair, unless of course you have a strict 1 pillow policy, then you really are done.
these are gorgeous!! where did you get that fabric??
It's from Jo-ann but alas I have no info. In fact, I went in yesterday with the saddest little scrap to see if they had any more. They didn't. If anyone has any info, please send it our way! PS. Will I ever learn to write down the info on the bolt when I buy in-store?
Awesome!!! I linked to your tutorial on Craft Gossip Sewing:
http://sewing.craftgossip.com/tutorial-make-a-sham-style-pillowcase/2010/03/09/
–Anne
I neeeeeed to know where that lamp is from! Adorable!
Hi Amber – Thanks! It's from Ikea (both the base and shade.) I haven't seen that pattern in a while but they always have cute options. Ikea is awesome for stylish, inexpensive lighting.
What a wonderful idea. Thanks for sharing.
Oh, this is fabulous! What a terrific idea to reign in the pillow madness that is currently my bedroom… Currently, they all end up in a pile on the floor, so I think your rule might be a good one to adopt. 🙂
If you're interested, we have a friday fun find party- we'd love it if you'd link up this week!
This is exactly what I was going to try to figure out tomorrow! Finally, endless hours blogg-shopping paid off:)
Just the tute I was looking for – made four of these today to make it nice and cosy in our boat – you can see one of them here: http://flic.kr/p/8LET18
Thanks a bunch! 🙂
[…] i needed more, so i ordered 3 more yards of fabric and made two king-sized pillow covers using this tutorial. i love them!! the one change i made to the tutorial is that i didn’t do the […]
I love this! I want to make it for my daughter’s new “big girl” bed, but I am wanting to use a standard size pillow rather than a king size. Do you know how I would adjust the tutorial? Thanks!!!
[…] Prudent Baby’s DIY Sham-Style Pillowcase was paired with Six Sisters’ Stuff’s Easy Envelope Pillow Cover Tutorial and a star was born. […]
This is such a useful tutorial, I’ve used it twice now! I posted today about some pillows I just made combining this tutorial with another one: http://paintingsunny.com/2013/02/08/got-it-covered/
You all keep being one of the most useful blogs in existence!
[…] make some pillows for the boat, and during this week, I got around to making four of these. I used this tutorial over on Prudent Baby (if this one doesn’t work for you, she has a ton of others to choose […]
This piece of writing will assist the internet visitors for
setting up new blog or even a blog from start to end.