


This is a simple tutorial for how to sew piping. It’s easier than you think, there’s just a few things you need to have and to know.
A couple weeks ago we shared How to Make Bias Tape. Now let us learn how to sew piping. It’s actually quite simple. And every thing could use a little piping right? Just don’t sew through your finger.
Making piping is a two-step process: Cutting bias strips, then sewing them around cord. I’ll show you How to Sew Piping after the jump…
How to Make Piping
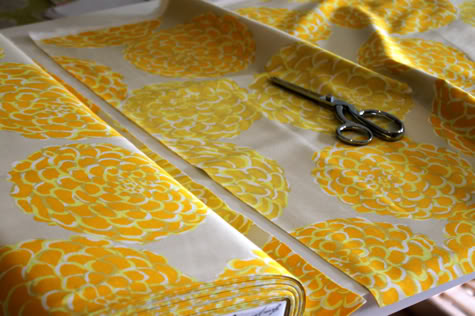
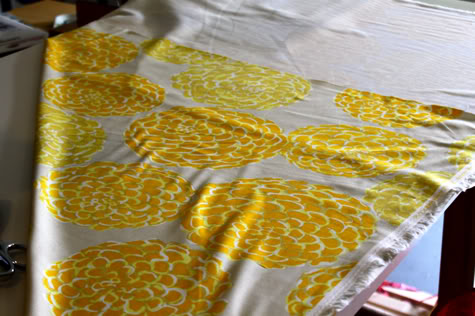
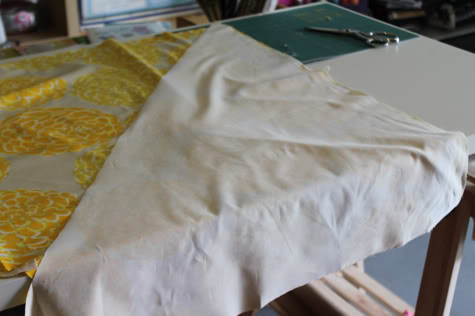
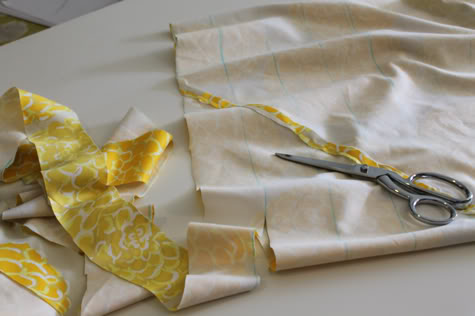
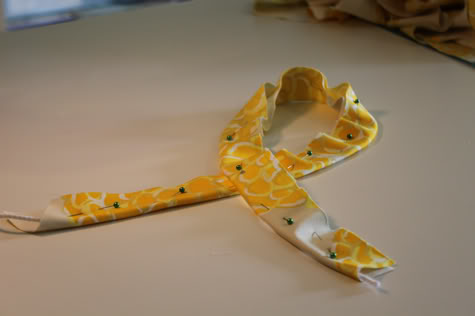
First we cut bias strips, then we sew the piping. For this homemade piping I used Valori Wells Del Hi Floral Home Decor weight (but you can use regular cotton).
CUTTING BIAS STRIPS
I showed you my trick for cutting bias strips quickly and simply in the How To Make Bias Tape post, but I’ll run through it one more time here. Just so you know, I actually cut these to make some double welt cord (I’ll show you how later) so I cut them pretty wide and I need a lot so I started with a whole yard of home decor fabric, which is 54″ wide. You probably don’t need this much:
1. Fold one edge into a right triangle:
2. Cut that triangle off and flip it over, aligning the straight edge right sides facing with the straight edge of the opposite side. Sew that in place:
3. Open up the fabric so it’s a parallelogram and draw lines on the bias parallel to the triangle edges equal distances apart. To determine the width, you just need to be able to wrap it once around your cord and have about a 5/8″ seam allowance left over, so usually 1.5″ will do it. It really doesn’t need to be very specific:
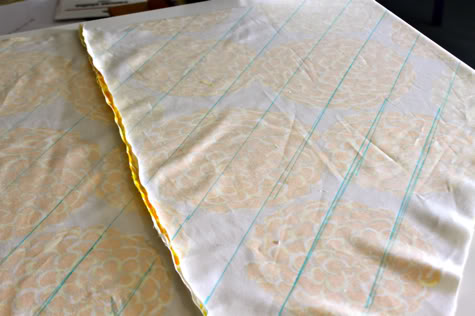
4. Bring the long sides together and offset the first drawn row so the end of it lines up with the start of the second row. The fabric will spiral to do this so it will seem very twisty and strange, but it’s working. Sew together right sides facing with a 1/4″ seam allowance:
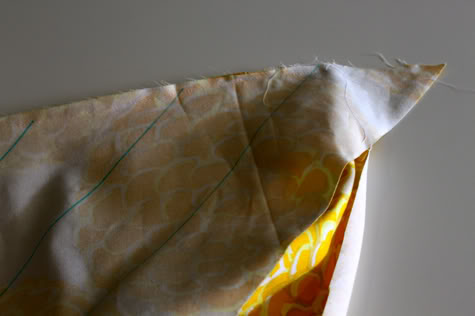
5. If you can do it, iron your seams open now (with a whole yard of fabric this is easier, if you started with a 1/2 yard or less you might want to wait until after you cut your strips to iron the seams open):
6. Start cutting on one side, cut along your lines in the spiral shape like so:
Keep cutting until you have one long strip:
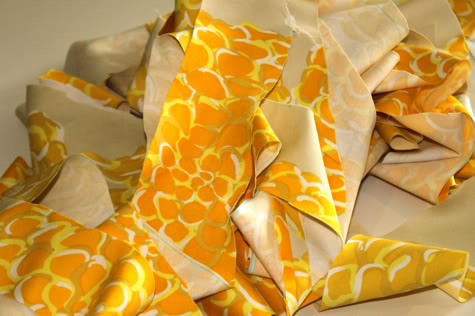
If you haven’t done it already, iron your seams open now.
HOW TO SEW PIPING
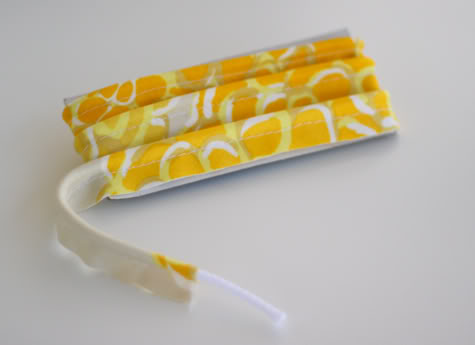
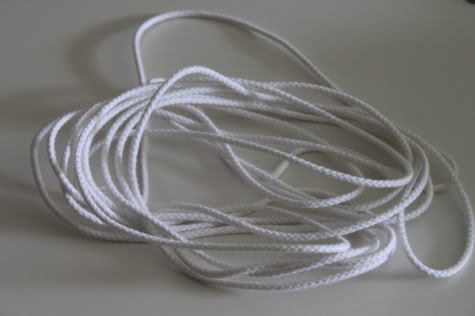
1. First you’ll need some cord. You can get this at any sewing shop in a bunch of different sizes and from a bunch of different materials. I have no preference, it just depends on your project. Get more length than you think you need, just in case:
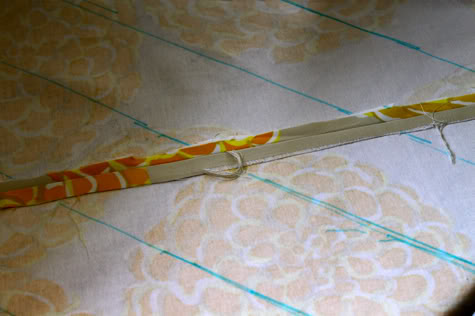
2. Lay the cord in the center of the wrong side of your bias strip:
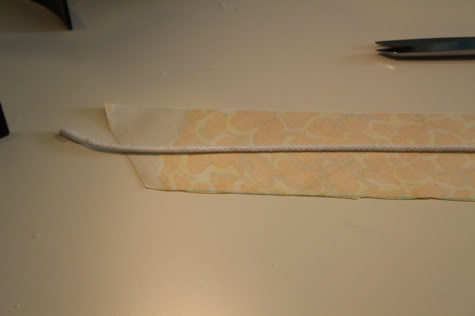
3. Fold the bias strip over the cord. You don’t have to pin in place but if it’s your first time go ahead and pin it will make your life easier:
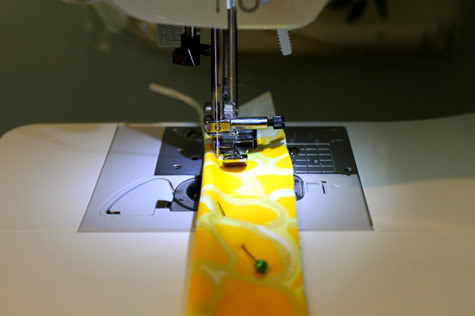
4. If you have a piping foot you are fancy, go ahead and use it. If not, use your zipper foot to sew a basting stitch (a straight stitch set to the longest stitch width, usually a 5) right up against the edge of the piping:
Look at that! Also, if you hate sewing you can skip sewing and use fusible tape to attach the two sides, but I figure if you are making piping you are probably planning to sew with it, and I think the sewing is quicker/easier than the ironing.
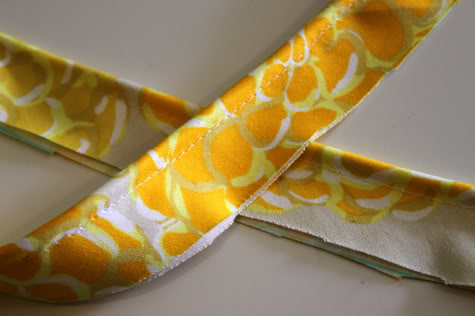
Now you probably don’t want such a big seam allowance making your projects all bulky, so trim the raw edges down to the appropriate size. If you are making piping just to stock up on it and don’t have a particular project in mind, cut it to 5/8″.
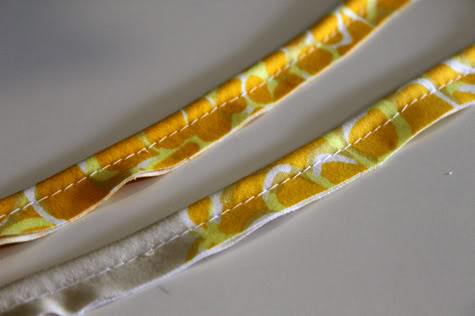
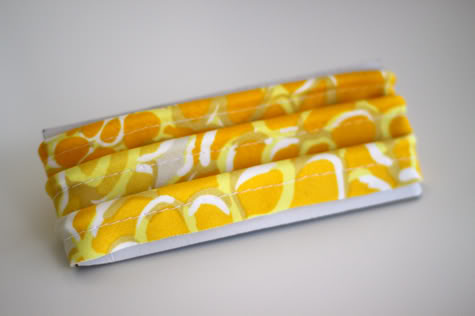
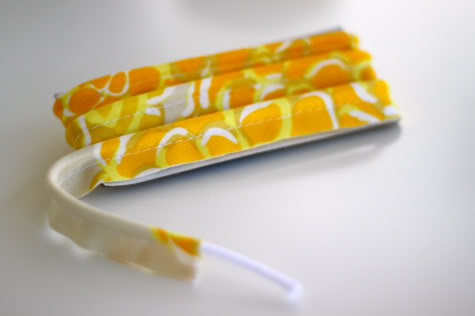
Wrap it around a piece of cardboard until you need it. Pat self on back. Done!
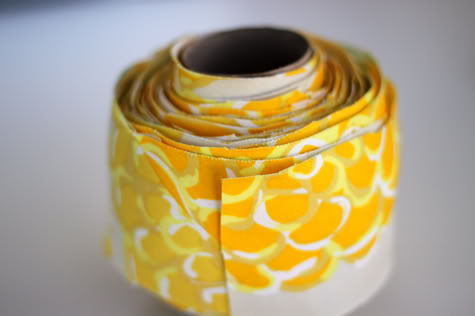
P.S. If you are a looking for a way to store your extra bias strips, a toilet paper roll works well. I REALLY wanted to do a post on “designer fabric toilet paper” and post a picture of this by the loo, but I chickened out:
So, pretty simple right? Think you’ll give it a try?
Great Tutorial! Thanks Jaime. I can't wait to see what you do with that gorgeous piping!
Wonderful instructions and just in time! I am trying this today. Thank you Jaime!
Kathydee
ummm…. can you now teach us how to actually SEW with the piping? You guys are bias tape and piping maniacs, but I ALWAYS mess it up!! It bunches up and looks sad.
yes! it's coming up soon
i'm so thankful that you're posting this stuff! bias tape AND piping!
This is great! Thanks!!! =)
This is PERFECT! I have to do piping for a chair I'm upholstering. Thanks!!!!
I wept with joy over this.
Genius. Nay–super genius!
I'm a new sewer and I've been looking all over the internet for a good tutorial on how to make these this week!! This is so perfect. Thank you so much!!
Super awesome. I've totally been wanting to do this! Thanks! And I'll definitely be checking out the bias tape tutorial too.
That is so awesome! I can't wait to have that to add to the finished for skirts/dresses!
it could just be my tired and pregnant brain but steps 2 and 3 seem a little fuzzy to me, do you maybe a few more picture or something?
voodoo – check out this post for more pics and detail: How to Make Bias Tape !
My mom gave me a chair from the early 1960’s that has that wonderful mustard yellow…..bleh…I’ve been so worried about how to do the plastic piping after taking everything apart so it’s been sitting here. I really think this tutorial is going to fix that!!! 🙂
[…] make your own. There are numerous helpful on-line tutorials on how to make your own piping (e.g., Prudent Baby’s how-to sew piping […]
[…] – Metro Living Circles in Orange, using Living with Punks tutorial (piping made using the DIY piping tutorial on Prudent […]
thank you for this tutorial! I struggled a bit to conceptualize the parallelogram and continuous strip of fabric concepts, but this plus the bias tape tutorial really helped. I just finished my piping and it looks great- thank you again!
I gotta favorite this website it seems extremely helpful invaluable
Thank you, I’ve just been searching for information approximately this topic for a long time and yours is the greatest I have found out till now. However, what about the conclusion? Are you positive concerning the source?
what fabric did you use?
I’ve been sewing piping for years and having a continuous bias strip is essential. I had a slightly different method, but yours beats it by a mile. Thank you for the insight.