


While poking around the crafty corners of the web I came across this amazing DIY for a hand-stamped faux necklace bib. It kind of makes me want to wear a bib. I asked it’s creator, Beth from Sand to Pearl, if she’d share the tutorial with you. Take it away Beth!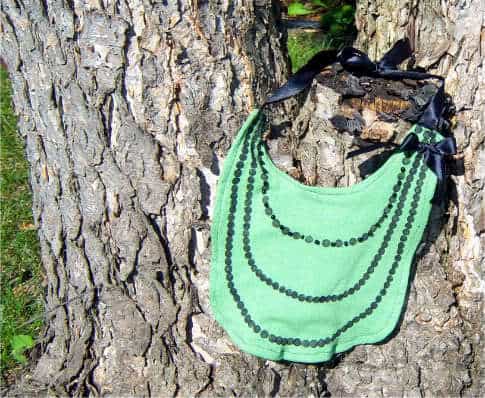
Seriously, how adorable is this? It’s fashoned after all the new little girl fake necklace t’s. This bib is actually for a sweet little girl. Wheezy was born with Cerebral Palsey and even though she is super smart, she can’t control her body. At 3 she understands that she’s different but she still wants to be just like all the other girls her age. And the other girls don’t wear bibs. But since she still has to I’ve been trying to think of creative ways to make then without making them too baby-ish. Last night I thought this little diddy up and I’m so excited. She’s going to LOVE it. I wanted to post this so that others who have little girls with special needs can make them too.
Get the full Necklace Bib Tutorial after the jump and remember to leave a comment on this or any post this week and you could win those paper baking cups up there on the left!
Hand-Stamped Necklace Bib
by Beth from Sand to Pearl
To start you need:
Fabric- NOT cotton prints, you can use cotton flannel (be aware that flannel tends to “ball” as I refer to it, and it may make the necklace look less and less cute with each washing, but using it on the back would be wonderful), or jersey cotton, but the Cotton print just makes the drool roll off, making it useless.
Fabric Paint
Ribbon
An Old Bib (To use as a template)
Beads (Optional)
Pencil Eraser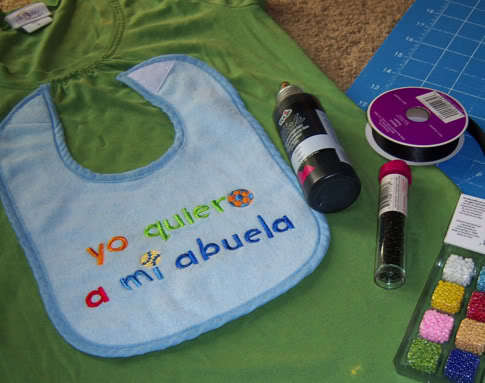
For my fabric I used a gently used T that had some staining. The fabric was still great, but the T would never be worn again. I love the T material. Little Man drools all the time and the T just absorbs so well.
Start by putting your bib on top of your fabric, fold the tabs down a little bit (you won’t need them because you’ll be using ribbon to tie it around the neck).
Cut this out on two pieces of fabric: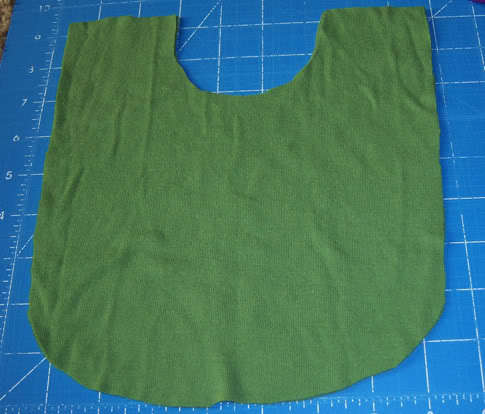
Next take a washable fabric pen and rough draft where you want the “necklace” to go.
Make sure you only do this on ONE piece of fabric. I had my 2nd fabric piece underneath and I ended up getting it painted too. Put your fabric paint into a bowl and use a pencil eraser. Dip the eraser into the paint and dab on the line. My top necklace has lots of space between the beads because I’ll be putting in real beads.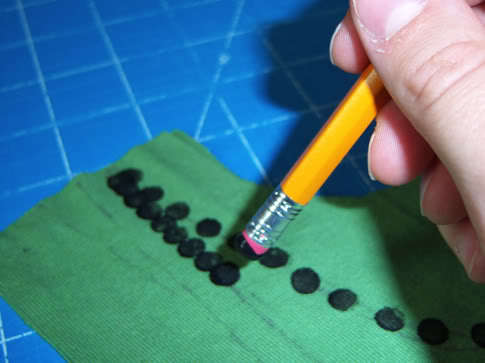
When you’ve done all the fabric paint beads it will look something like this. Now we wait for it to dry. I am impatient and I always have a dead line with Little Man’s nap time so I used my blow dryer to speed up the drying process.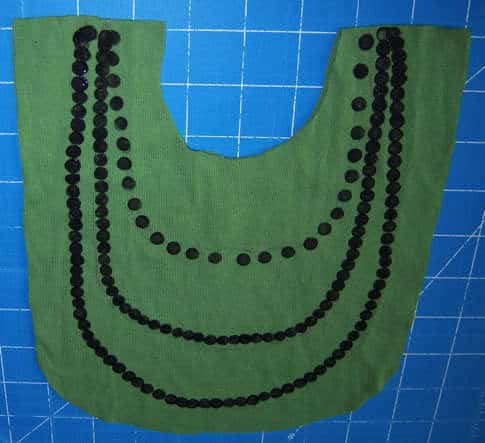
When the paint is DRY take out your beads and your thread. This part takes FOREVER, but it’s totally worth it. Sew the beads in place and make sure you go through the beads at least twice (no one wants to use a bib that has to have special washing instructions!)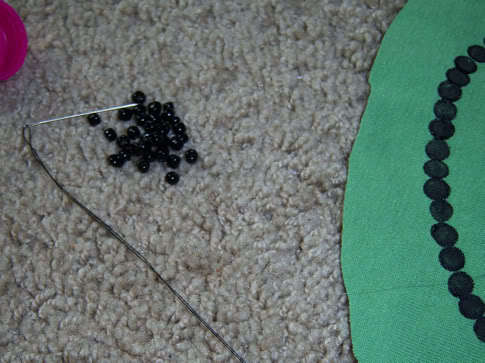
Here you can see I made one continuous run (this is the back side) make sure you don’t put the beads too close to the top edge, and when going to the next bead make sure you don’t pull tight or you’ll have some rippling in the fabric, which you don’t want (trust me, it’s not very cute)
Here’s how it looks with the beads attached.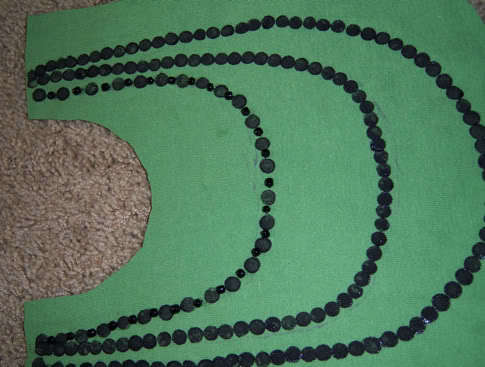
Next I made a little ribbon bow, because I think it gives it a little extra.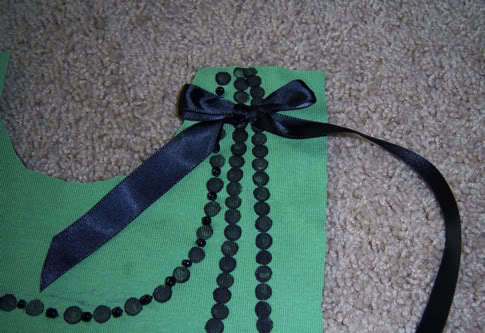
Then I placed the ribbon where it would be, and I cut a little bit more of the fabric around it so it won’t be too bulky.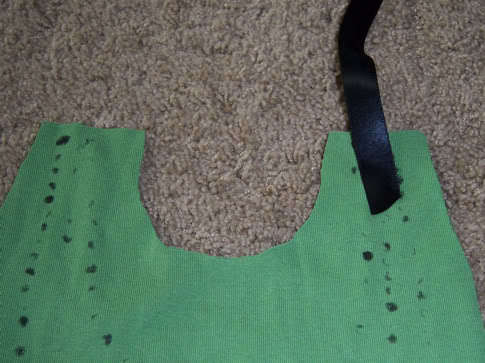
Now, sew the cut little bow on, not too close to the top or it won’t be placed right.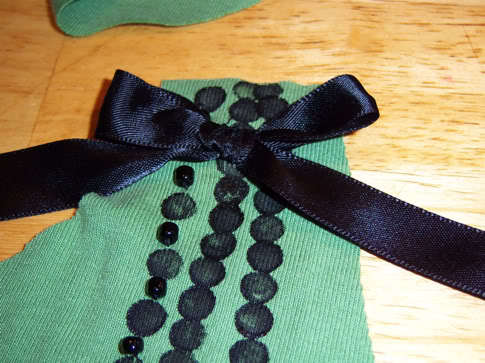
Then I cut two long strips of ribbon.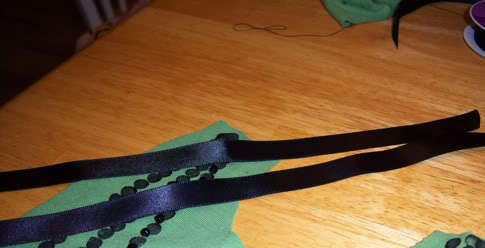
And Sewed each of those straps on the top of the bib, back stitching for durability.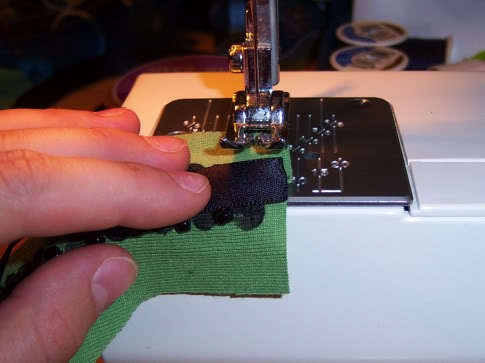
It’ll look like this now.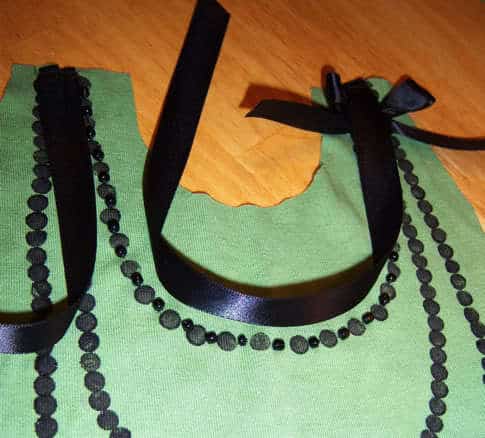
Next, put right sides together and sew together, make sure you leave a bit unsewn so that you can flip right side out. (The picture shows the little hole, make sure to back stitch by the hole or it will come undone while you’re flipping the bib) Also, Make sure you don’t sew over the bow or the ends of the ribbon (well, the side that will be tied to hold the bib on)
Next cut the corners (not all the way to the thread) and flip right side out. It’s looking adorable.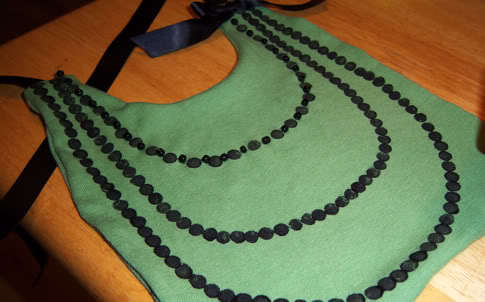
Then top stitch the outside.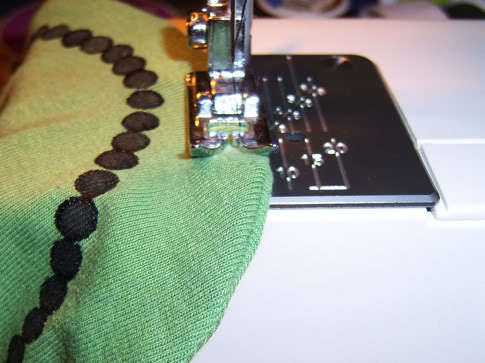
Then you’re done! How great is that? Looks so stylish and fun.
Thanks Beth! We love the project and your motivation behind it. Ladies, leave a comment on this or any post this week and you could win those paper baking cups up there on the left!
I love this! I plan on making the necklace onto a shirt. Thanks for the step by step!
Thanks for the step by step! The story behind this bib is really beautiful.
Great project and step-by-step! It's beautiful! The eraser stamp is genius!
I'll just have to live vicariously through you who have girl babies! And good idea, Cris, to put it on a shirt!
This is adorable! I was looking for a quick project to make during nap-time today. Thank you!
What a lucky little Wheezy to have such an amazing friend like you 🙂
This is an awesome bib! I'll be making one for my little diva in the near future!
So cute! Can't wait to try this!
That's so cute!!!
i love that!
I need to have another baby girl to put this adorable tute to use! Maybe I'll take someone else's idea and do it on one of my 'big girl's' t's. Thanks for sharing!!
that is such a cute idea. I've seen the shirts with the faux necklaces and i love them. Wouldn't it be cute to make the dots with glitter puff paint or irredescent paint?
thanks for the ideas
oh my goodness, the story behind the project is just so beautiful! I'm literally near tears.
I agree amazing story, how sweet and special I want to make one for every little girl literally
Amanda
http://patriciaraedesigns.blogspot.com/
Awww…how very special! Thanks for the tutorial and the touching story.
Thank You everyone for your wonderful comments. I'm so glad you all like the bib. Best of all Little Wheezy loves it!
What an awesome project with a great motivation! Love it and think my diva daughter would look awesome sporting some gorgeous beads – the non-Mardi Gras kind. 🙂
I wish I would've come across this turorial earlier. I just made a onesie similar to this and practiced on paper different things to make the necklaces look right.
This is adorable! I can't wait to make one for my friend's baby. The designing and painting might be left up to my little one, so that it might be a group project for us 🙂
Thanks for the inspiration!
Really adorable and super wonderful! I hope your daughter loves it as much as we all do!
What a great project and step-by-step tutorial! This bib is so adorable. I'm actually looking for baby gifts and this bib is so perfect. I can't wait to try. Thanks for sharing tutorial. 🙂
ADORABLE!! I love this idea! Ohhh I can't wait to make one. Thanks for sharing…….