If you love Anthropologie and you love sewing you will love this tutorial by Megan from DIY Maternity. Megan has come up with a plethora of ideas for sewing up your own maternity wear. She has told us about some of her favorite Fall/Winter posts such as How to Make a Wrap Cardigan, Maternity Maxi Skirt, and even her Fall/Winter Sewing list, where she assembles weekly outfits and provides you with 13 do-it-yourself sewing pieces. For all of you with your little bun in the oven, make sure to check out the Maternity Calendar Shirt post to start the big countdown.
Now, let’s get to sewing. Megan will tell you all about how to make this adorable top after the jump…
How to Make a Shirred Maternity Tunic Top
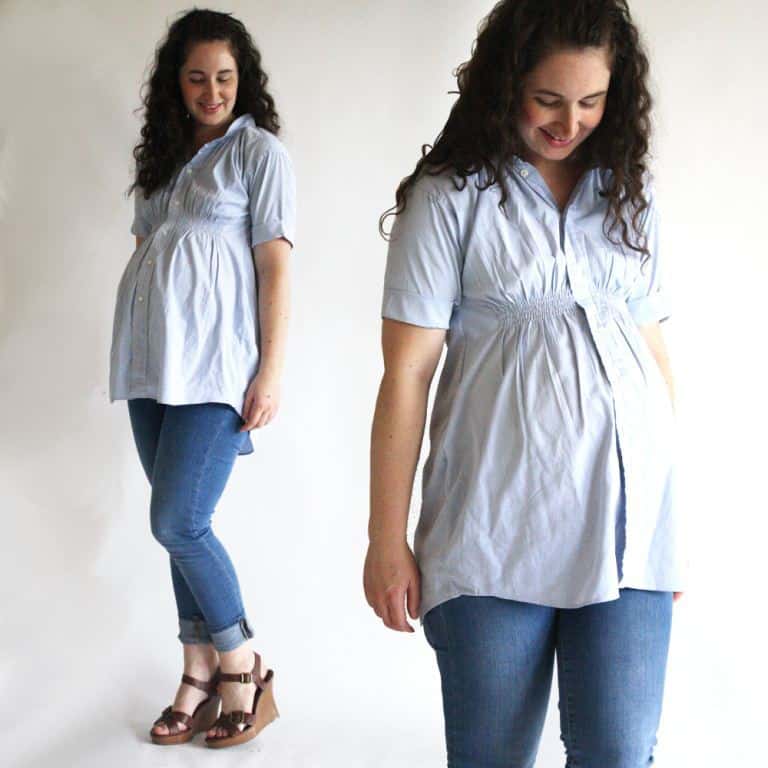
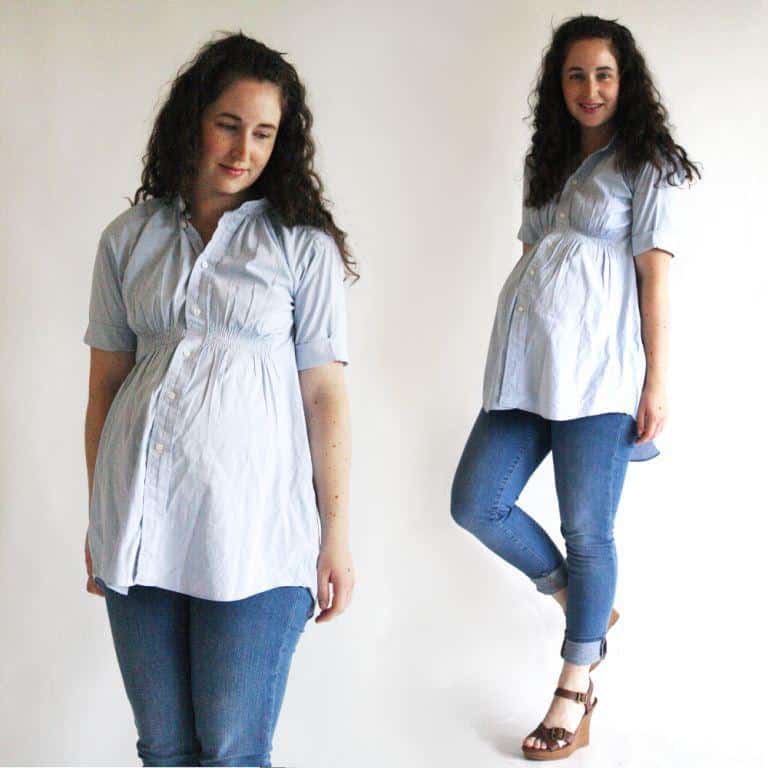
This top is just such a winner. I love it so much that it’s one of the few things that I made as maternity wear, but still wear now. I think you gals are really going to like it!
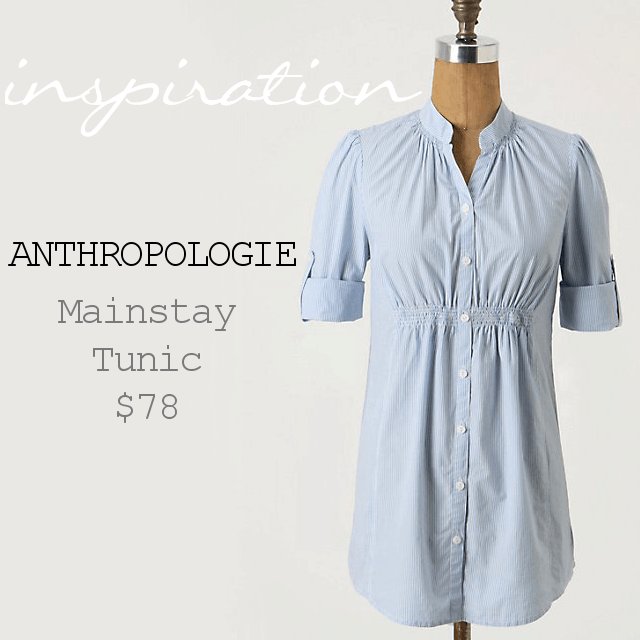
The original idea came from this super cute Anthropologie tunic that was sadly sold out.
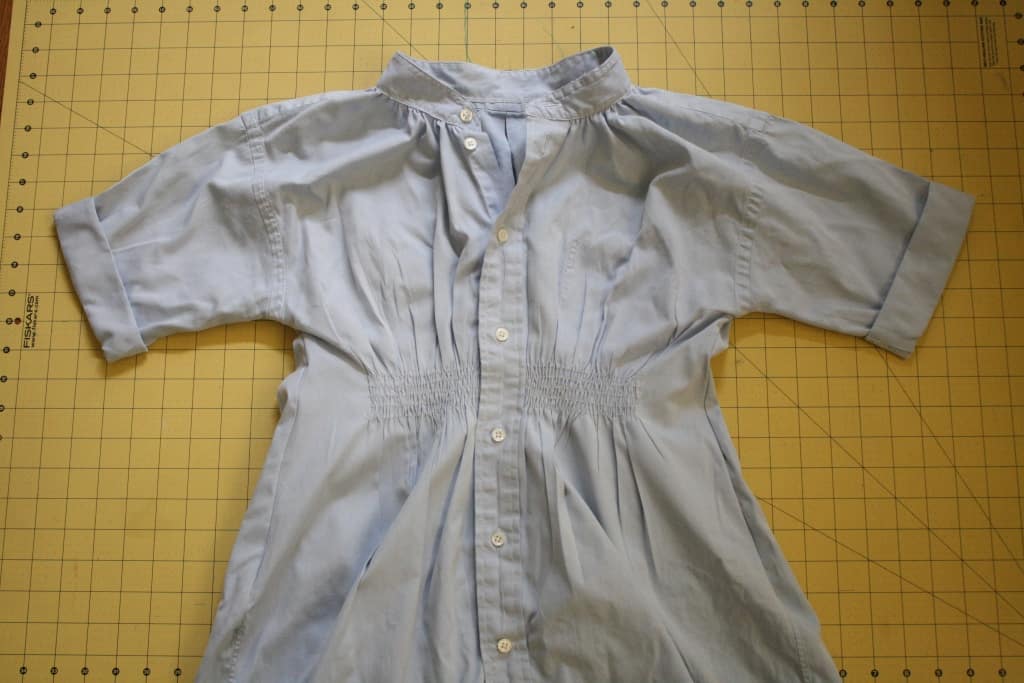
So I thought, why not make a knock off? And i think it turned out pretty darn similar!!
I actually think this would work really well as nursing wear too – and to be honest, i’m taking it on vacation with me next month as a non-maternity beach cover up!
What you’ll need:
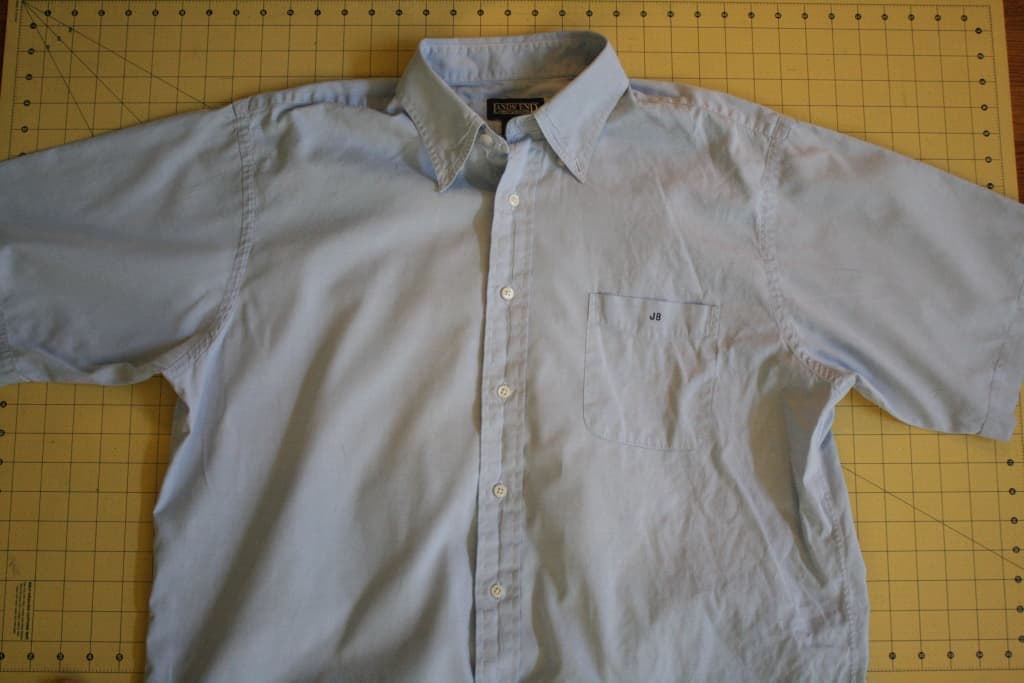
– a men’s button shirt. You want it to be quite large so that it fits nice and loosely over your belly. I used a mans shirt that was 2 sizes larger than i wear in womens. ie. i wear a women’s medium, and I used a men’s XL shirt.
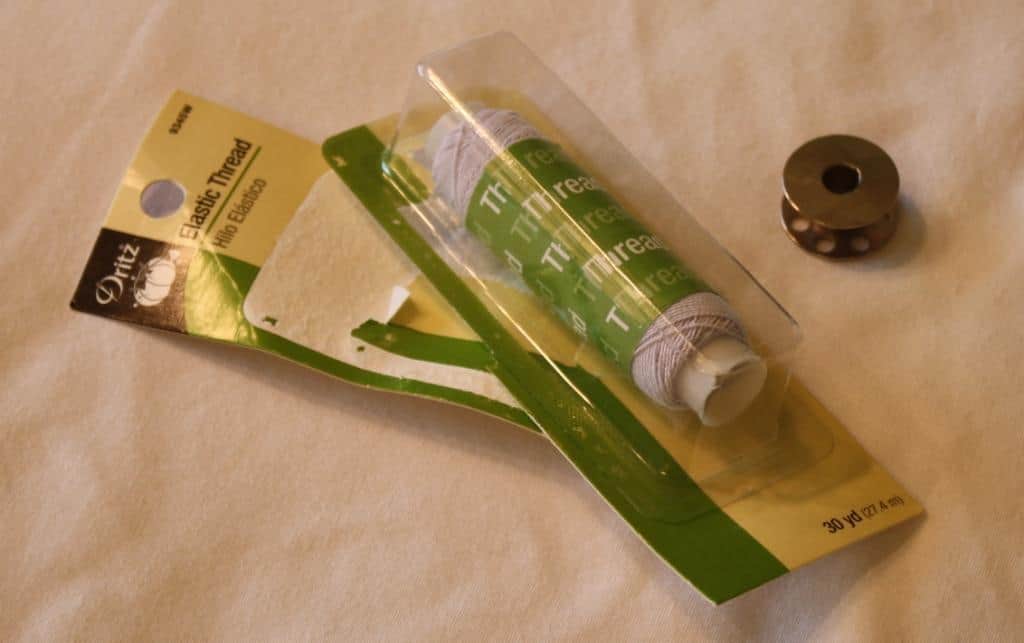
– elastic thread (If you want some help learning how to sew with elastic thread then check out this post)
What to do:
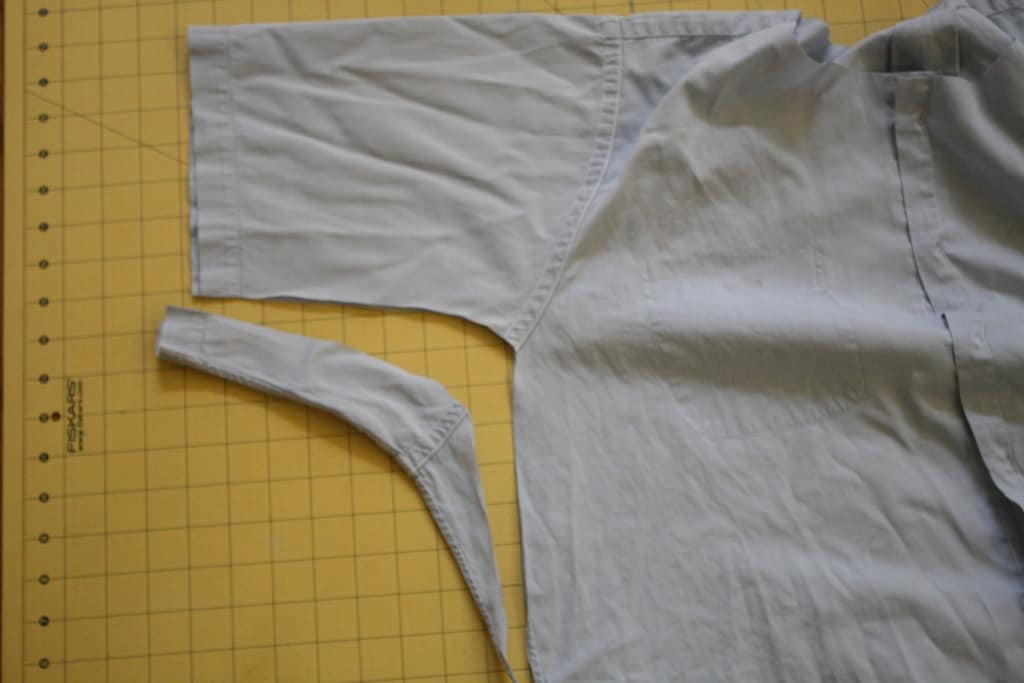
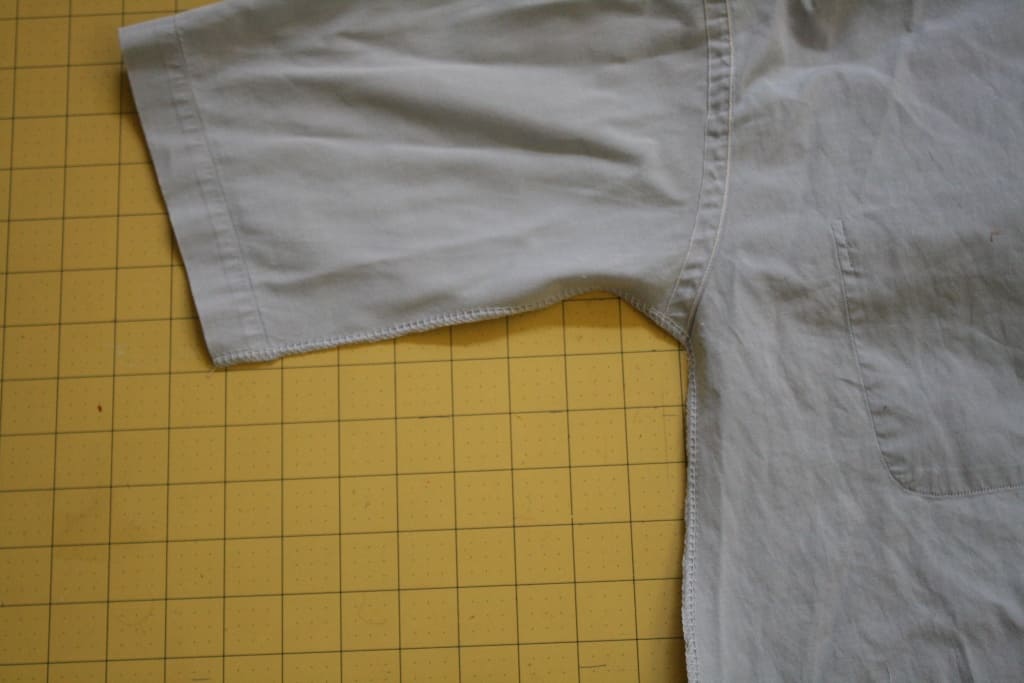
1) First things first, we’ll need to make the sleeves smaller. We’re going to use the cheaters method we used in our Peasant top – which basically involves cutting the sleeve smaller (like below) and sewing. I started off with a short sleeve men’s shirt, but I would recommend using a longer sleeved one and keeping the sleeves long until the end.
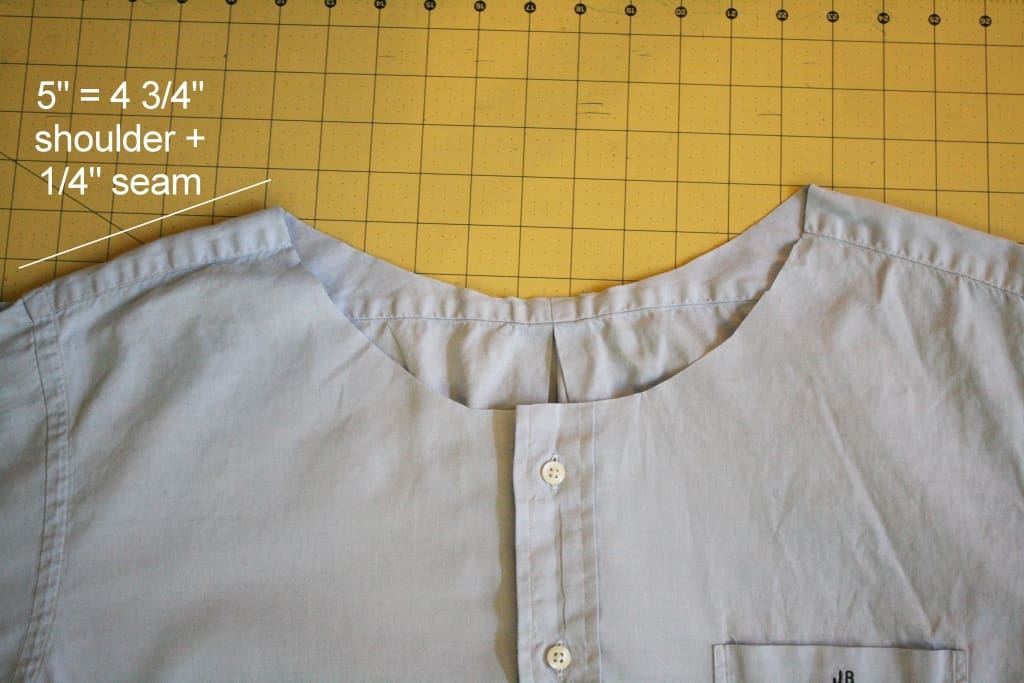
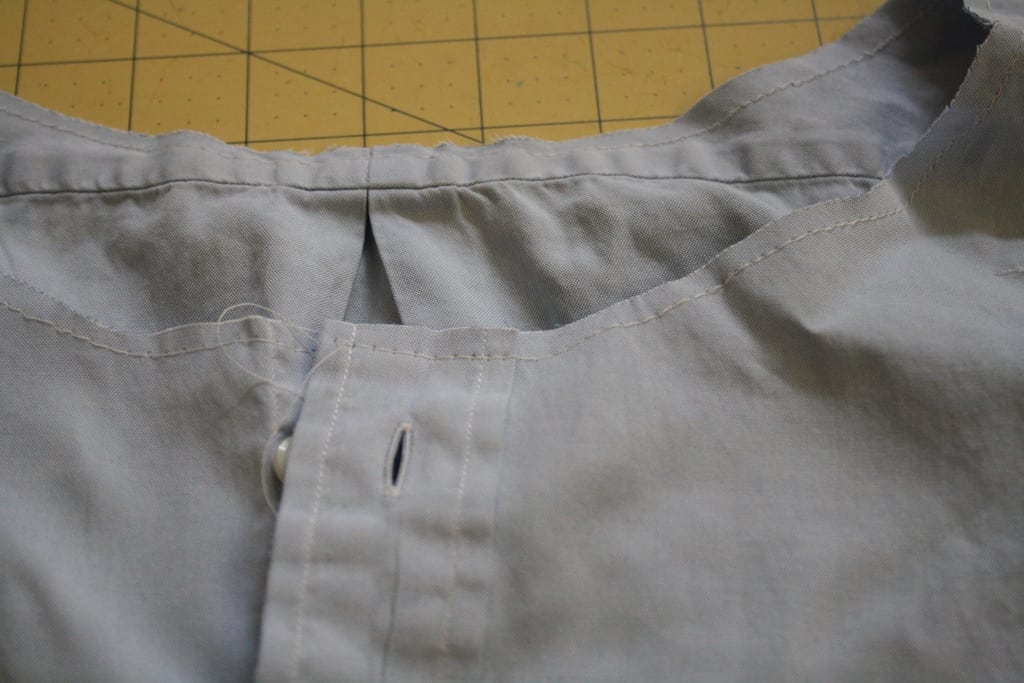
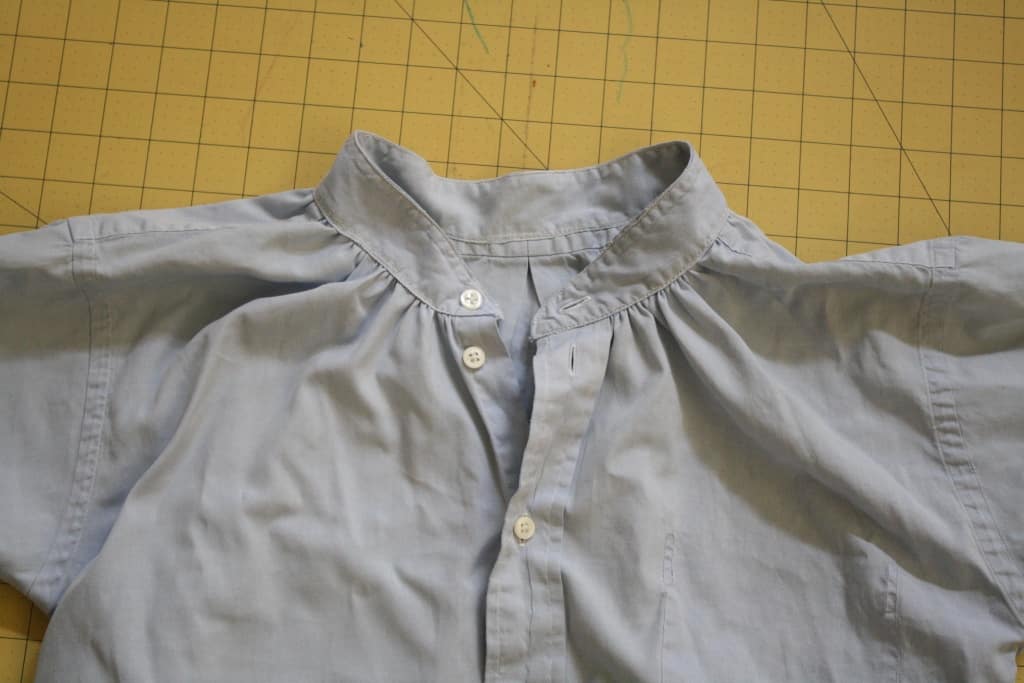
2) Now we’re going to cut away at the neckline. Since this shirt is much larger than my actual size, the shoulders are too wide. So you’ll need to measure either your shoulder (kind of hard on yourself) or measure the shoulder seam of an existing shirt you have. Add on a 1/4″ to this measurement and then cut the neckline like below.
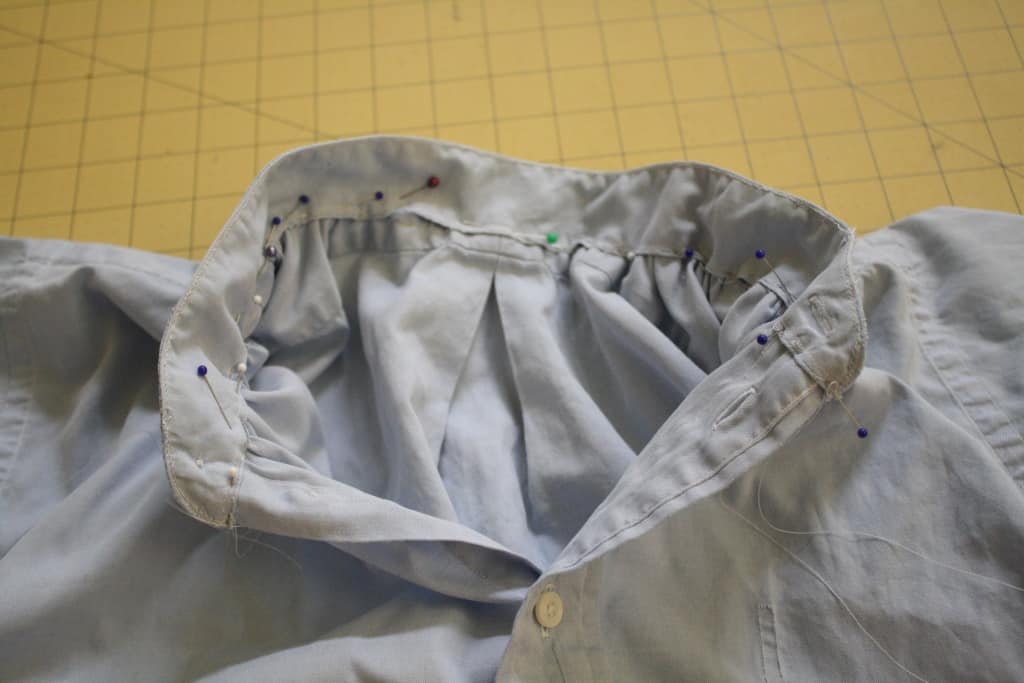
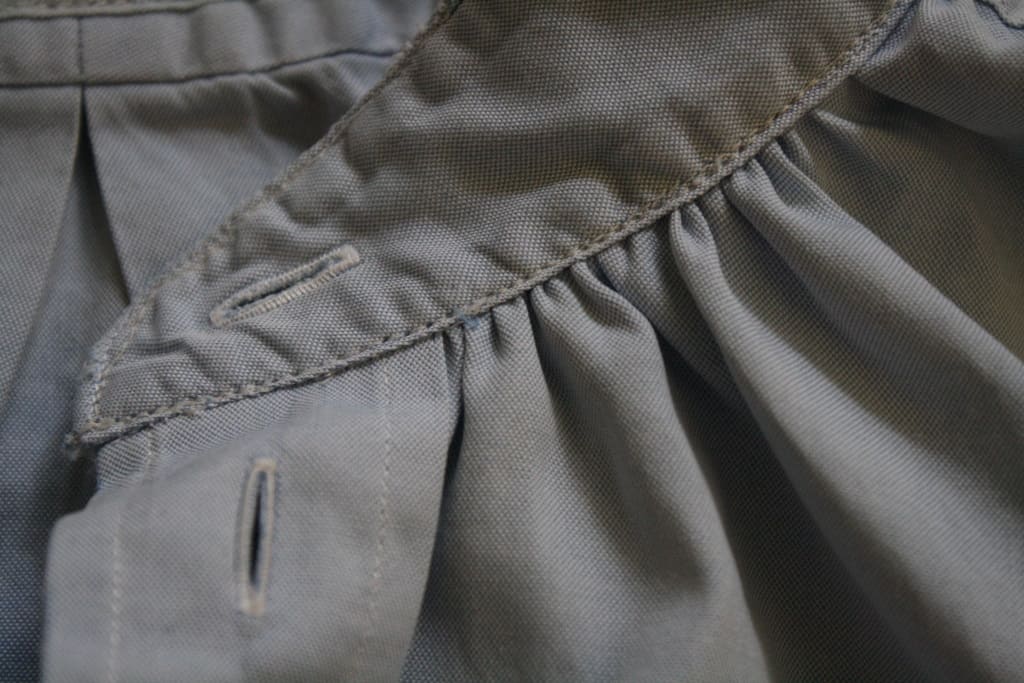
Now you’ve probably realised that the neckline is now way bigger than the collar. That’s okay! We want that! The great thing about this top is that the neckline is gathered where it attaches to the collar stand (that band under the collar) – which makes it perfect for replicating with a men’s shirt!
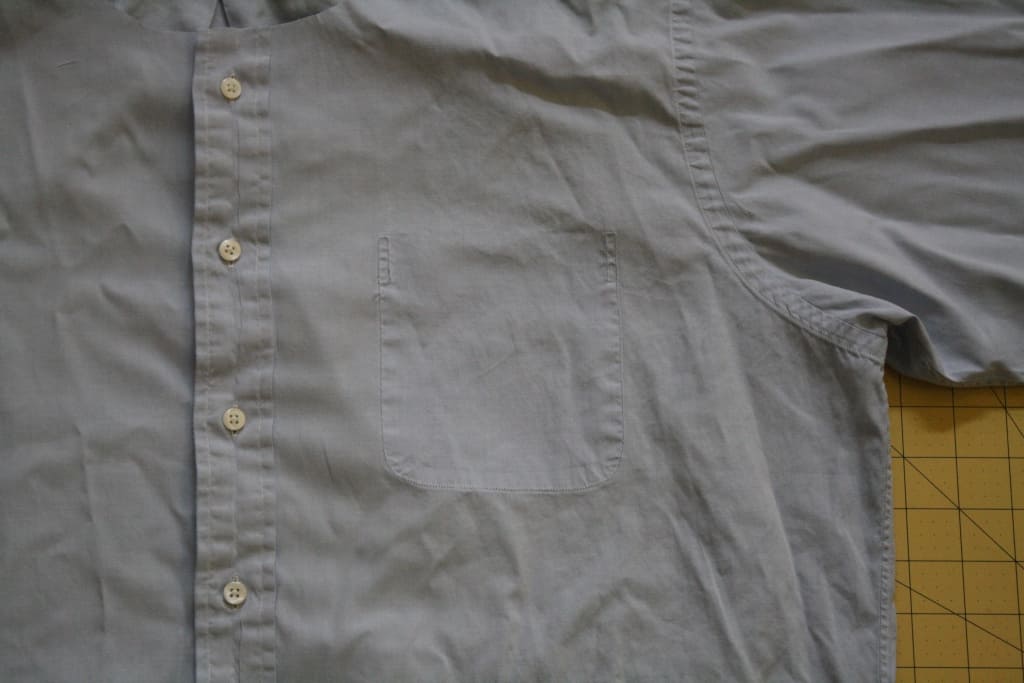
3) If you have a pocket on your shirt, and don’t want it to be there, i’d say carefully unpick it now
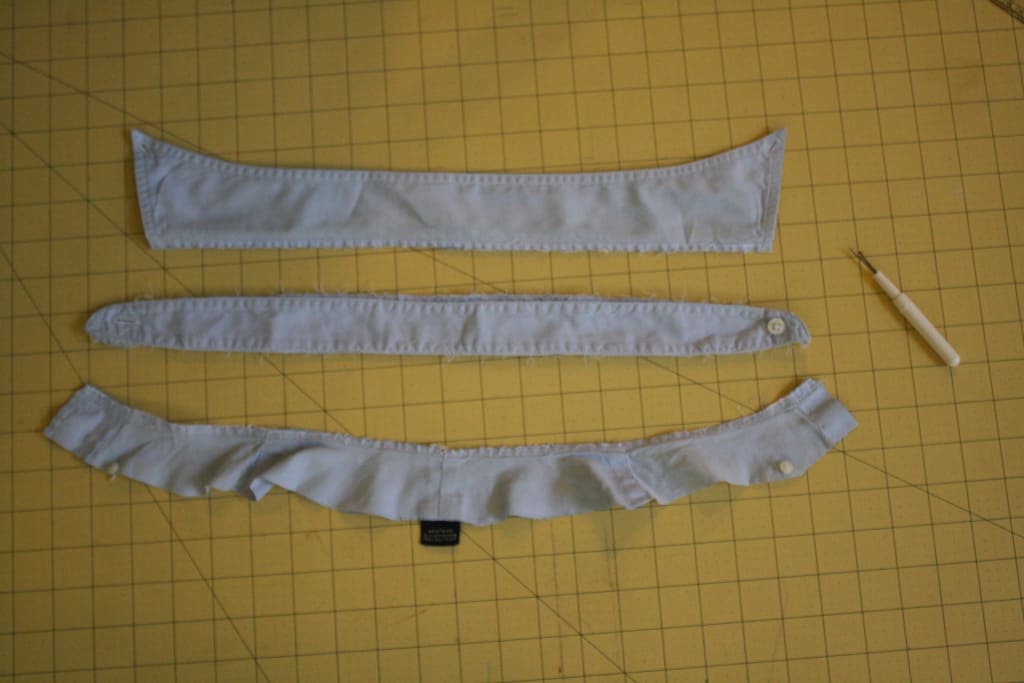
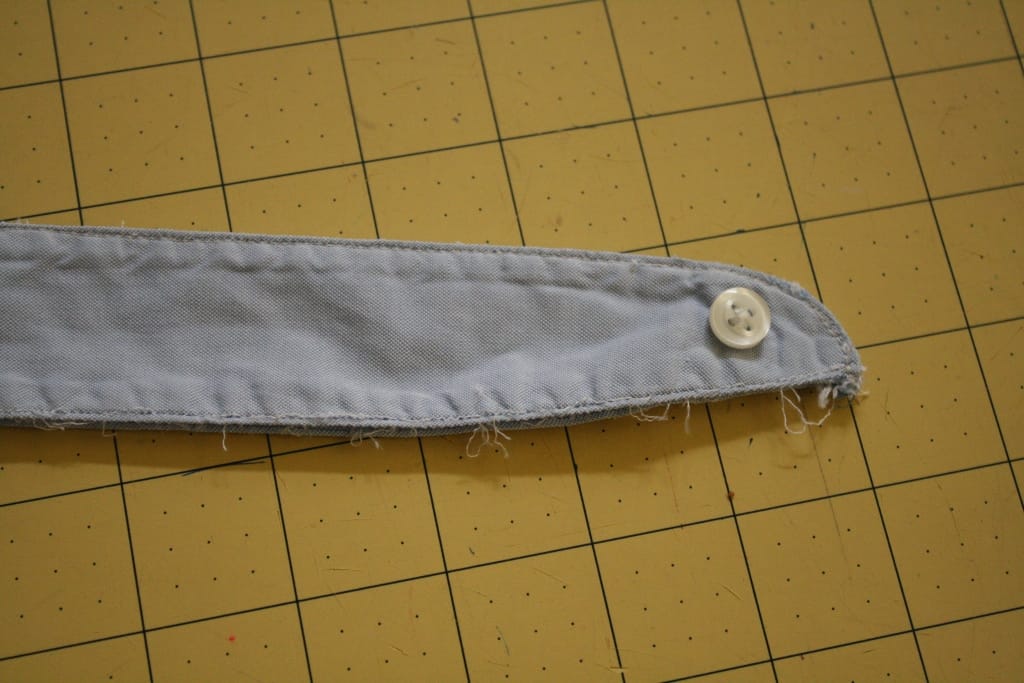
4) Take the collar and carefully unpick it so that you end up with 3 pieces, the collar, the collar stand, and some extra shirt fabric. You can toss the collar and extra fabric, but keep that collar stand!
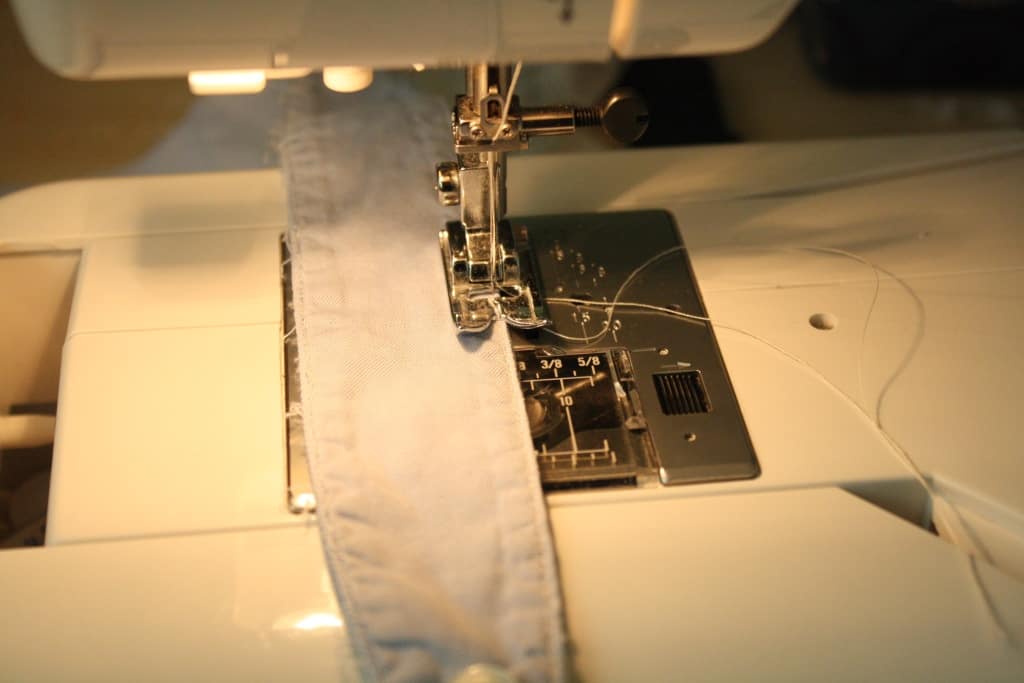
5) Carefully top stitch the top edge of the collar stand.
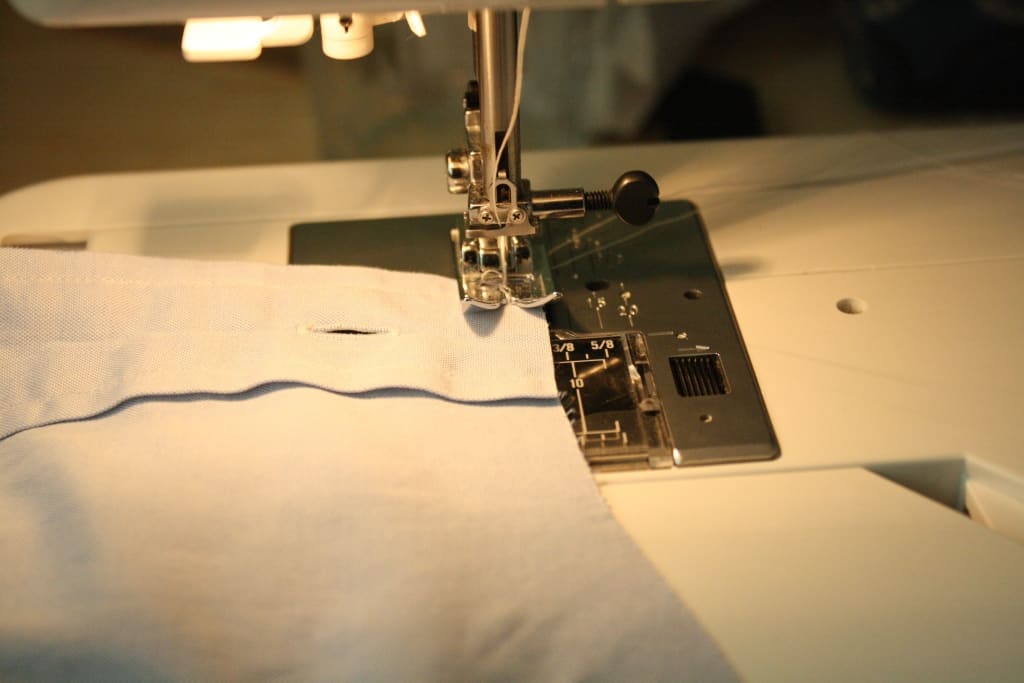
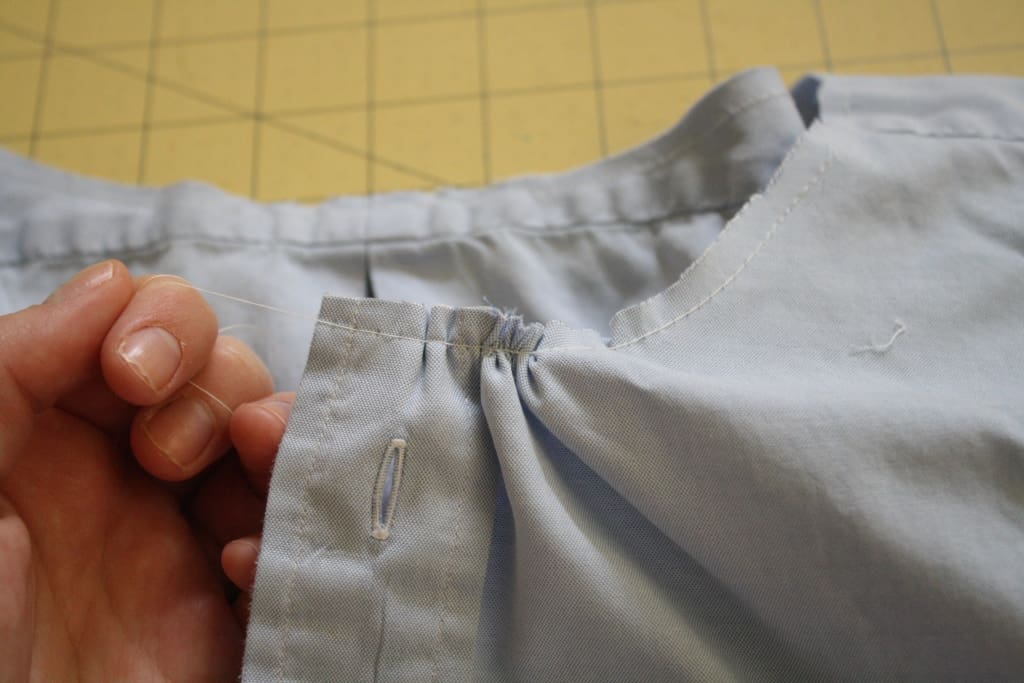
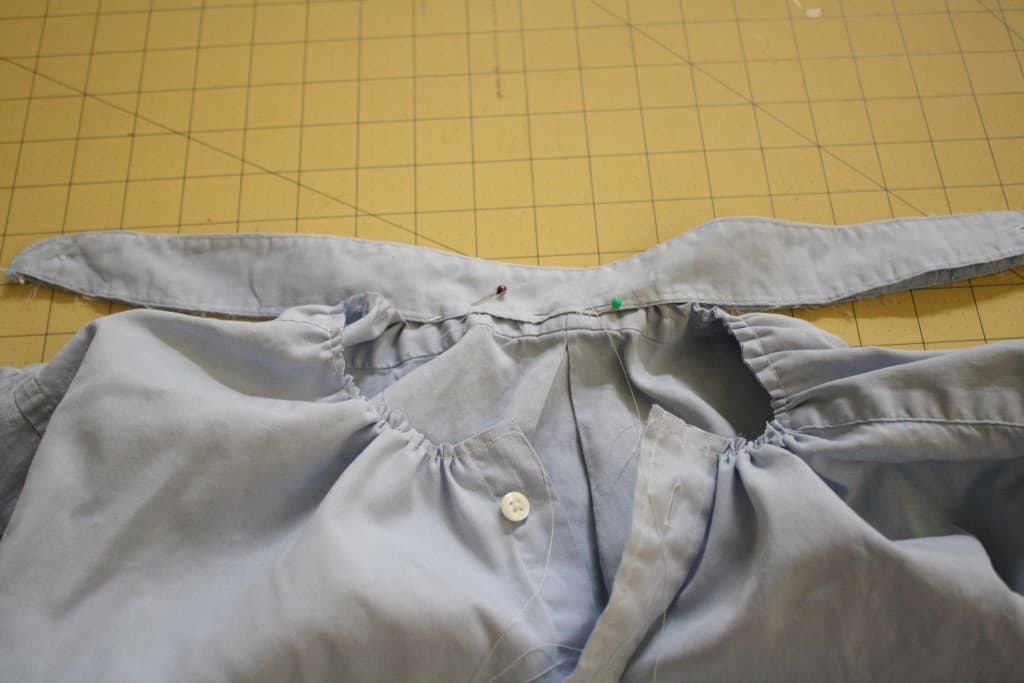
6) Now we’re going to gather up the neckline and attach it to the collar stand. Sew just under a 1/4″ from the raw edge all the way around the neckline using the longest stitch on your machine. Do not backstitch! Holding the fabric stationary in one hand, pull one of the loose threads with your other, and it should gather up really easily!
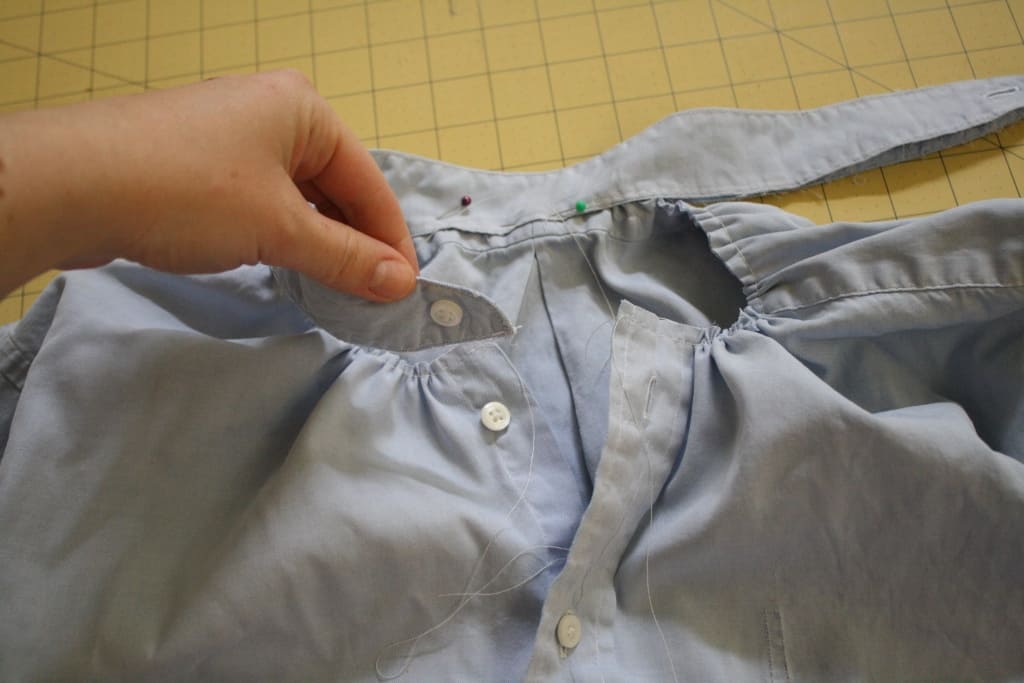
7) Even out the gathers so that the neckline is the same size as the collar stand. (I weighted my gathers more heavily towards the front of the shirt). Then pin the collar stand to the neckline (place the raw edge of the neckline inside the two pieces of the collar stand) and then carefully top stitch to attach it all together.
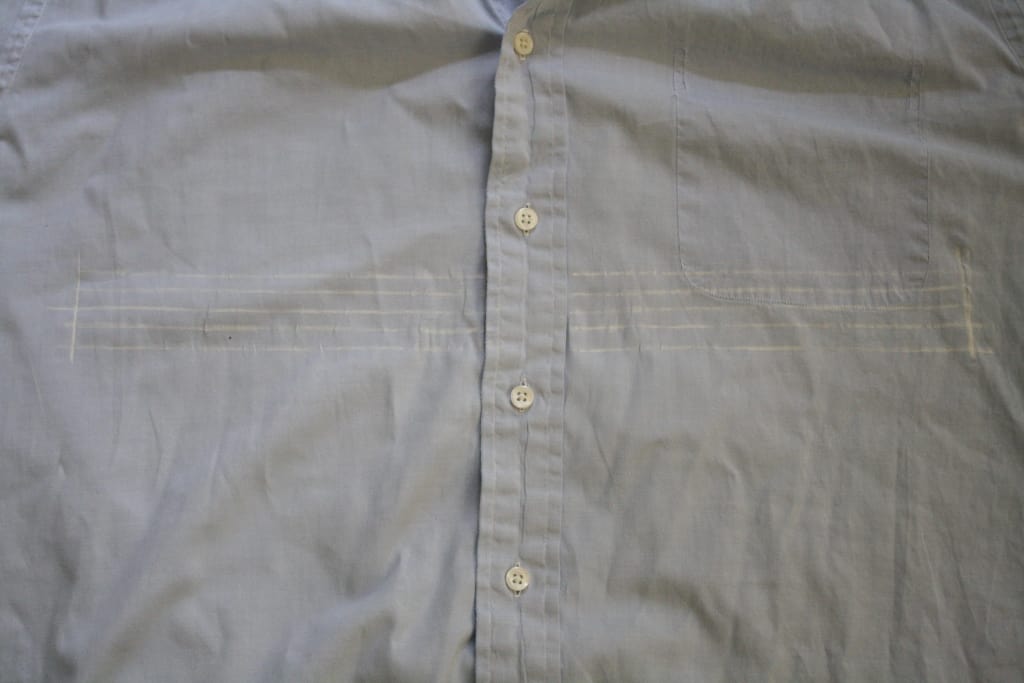
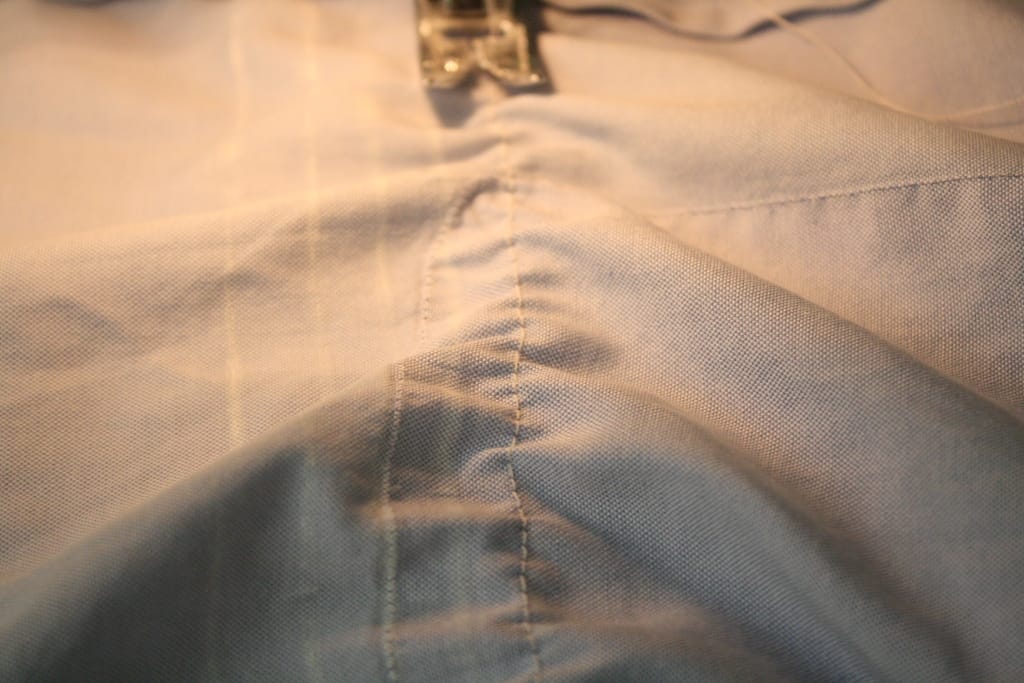
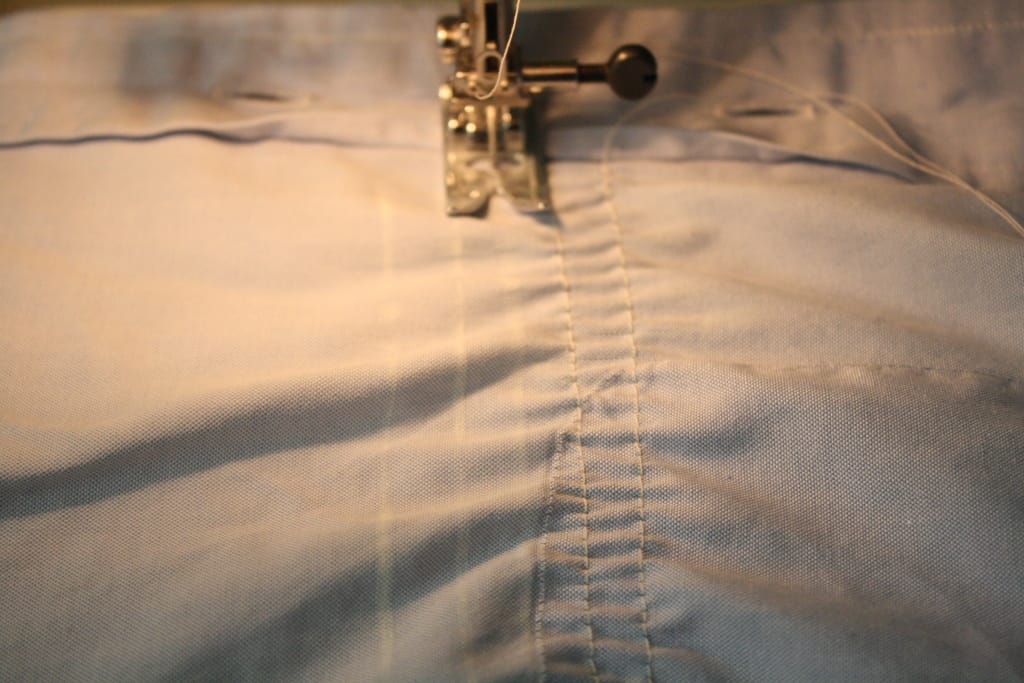
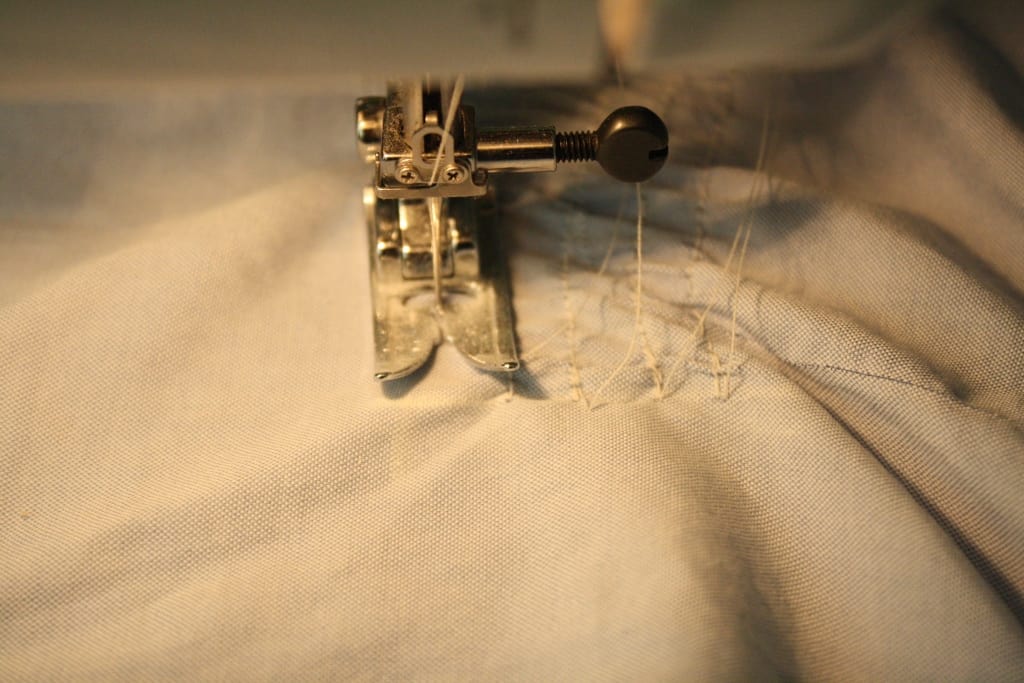
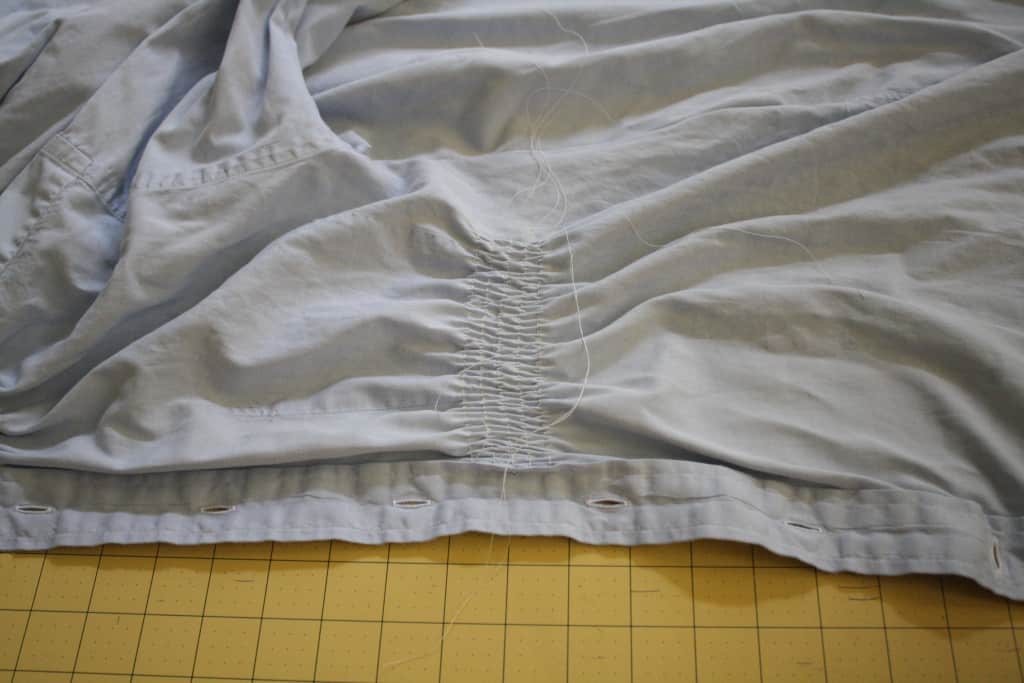
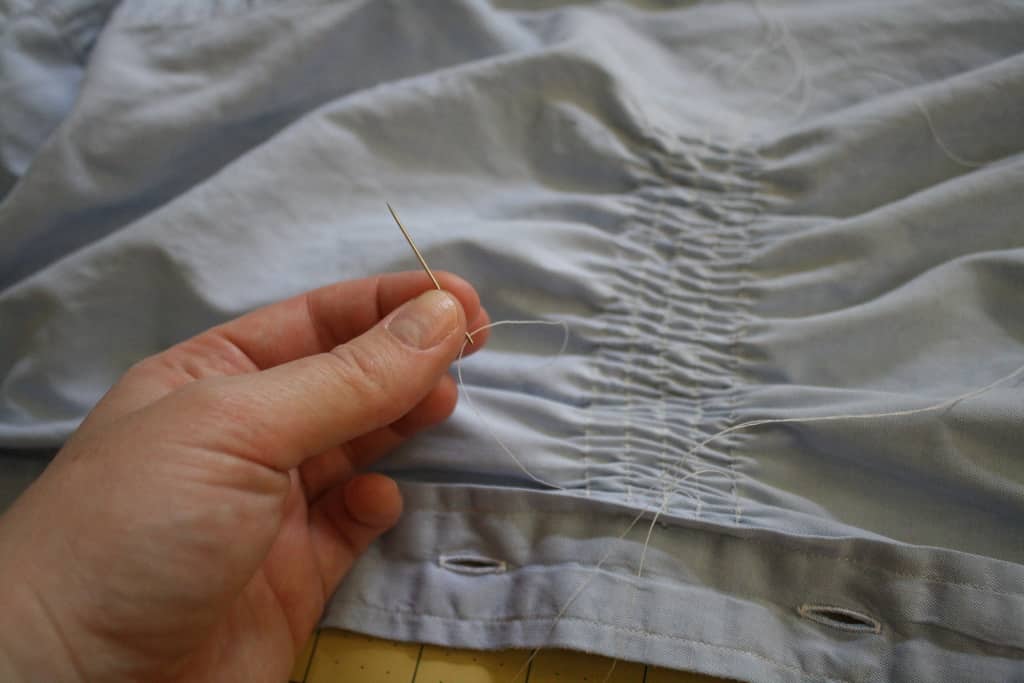
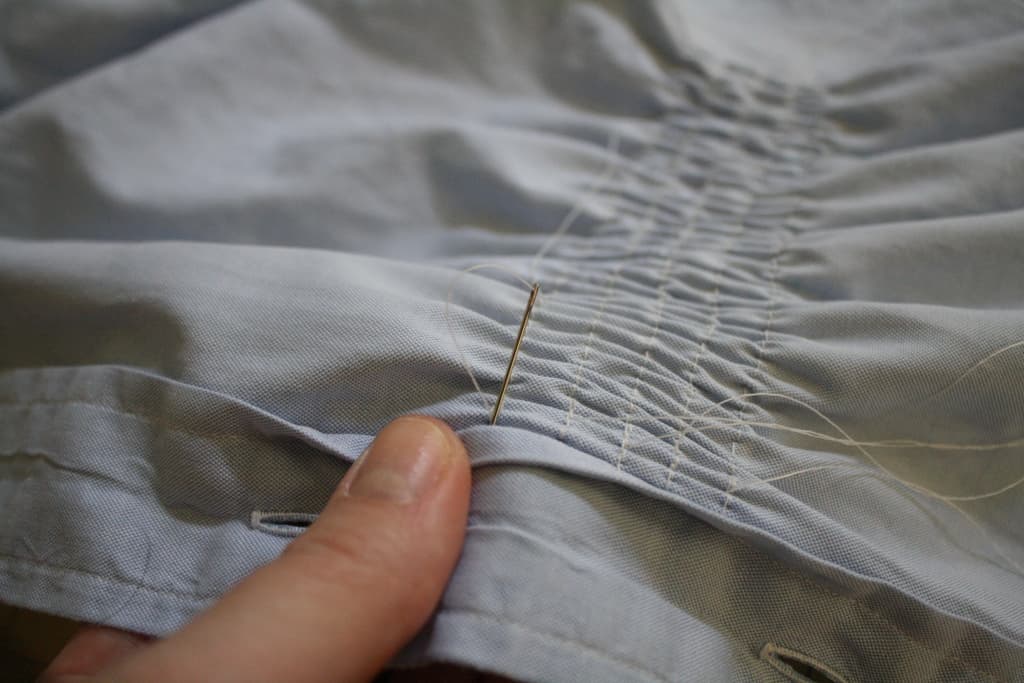
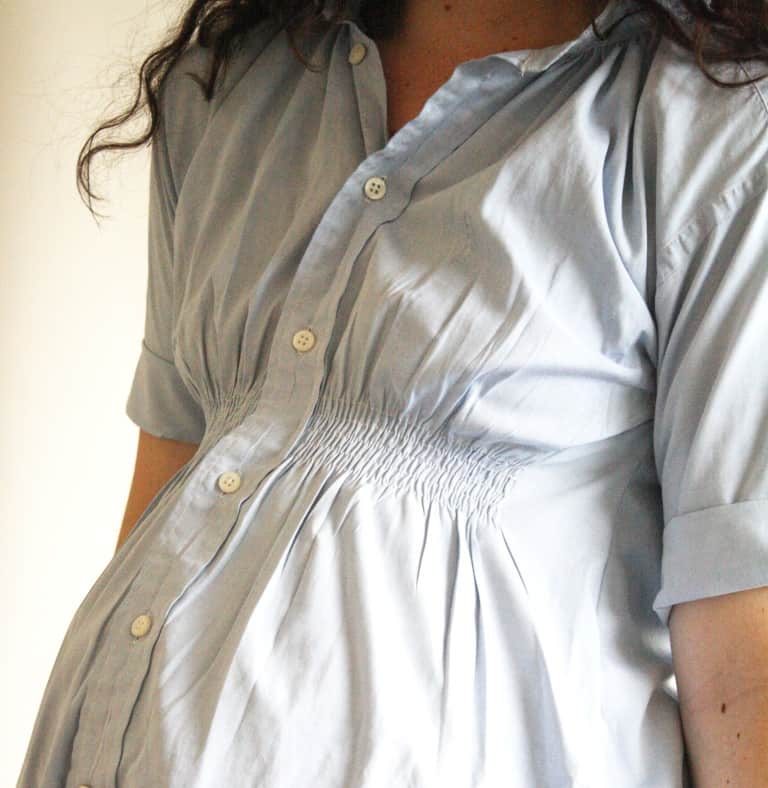
8) Now it’s time for that shirring!! Find your empire waistline and mark it. Then using tailors chalk or pins, mark 5 lines on your top that are 1/4″ apart. Leave about 2″ on the sides of your top unshirred.
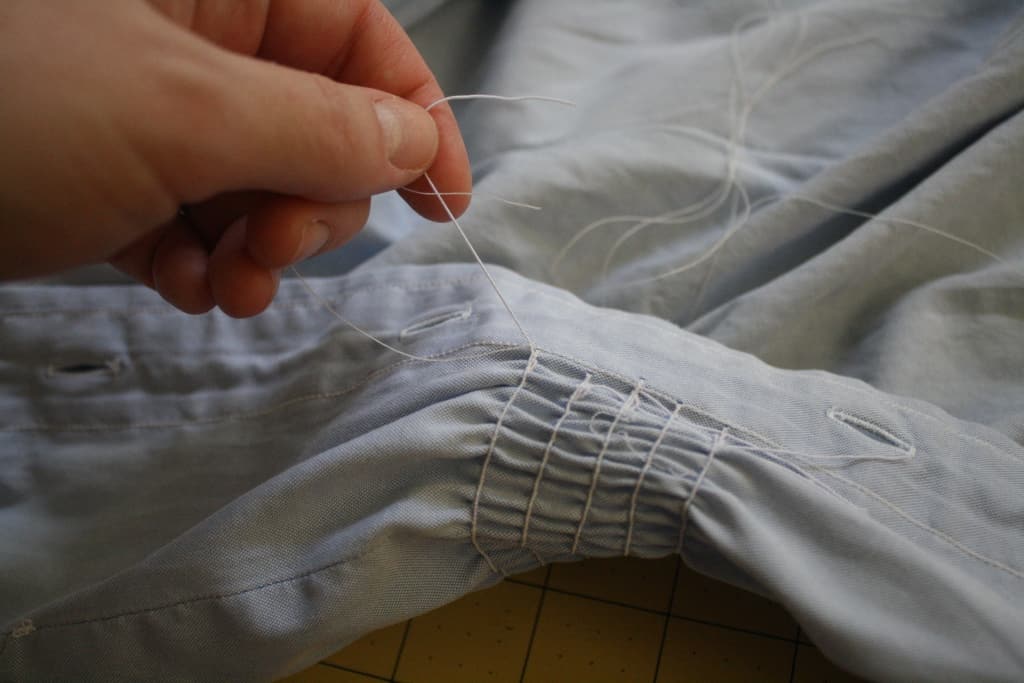
9) Remember to sew on the right side/outside of the shirt. Sew your lines of shirring from the placket to your marked line. When you’re done, push the threads through to the back side using a needle and then tie off the ends ( If you need some more info about sewing with elastic thread then check out this post.)
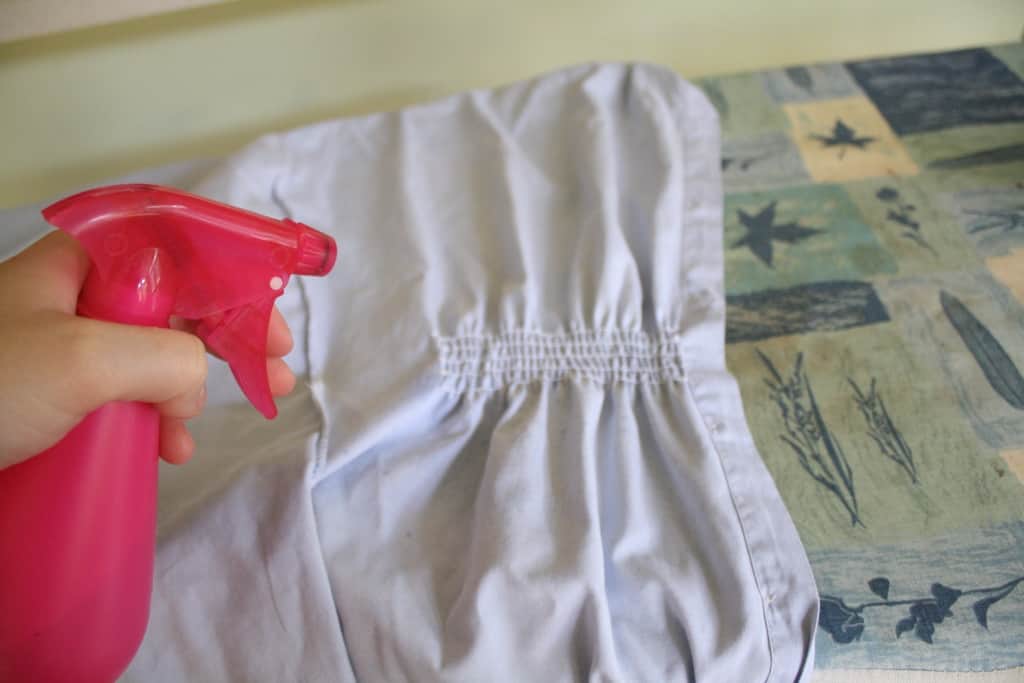
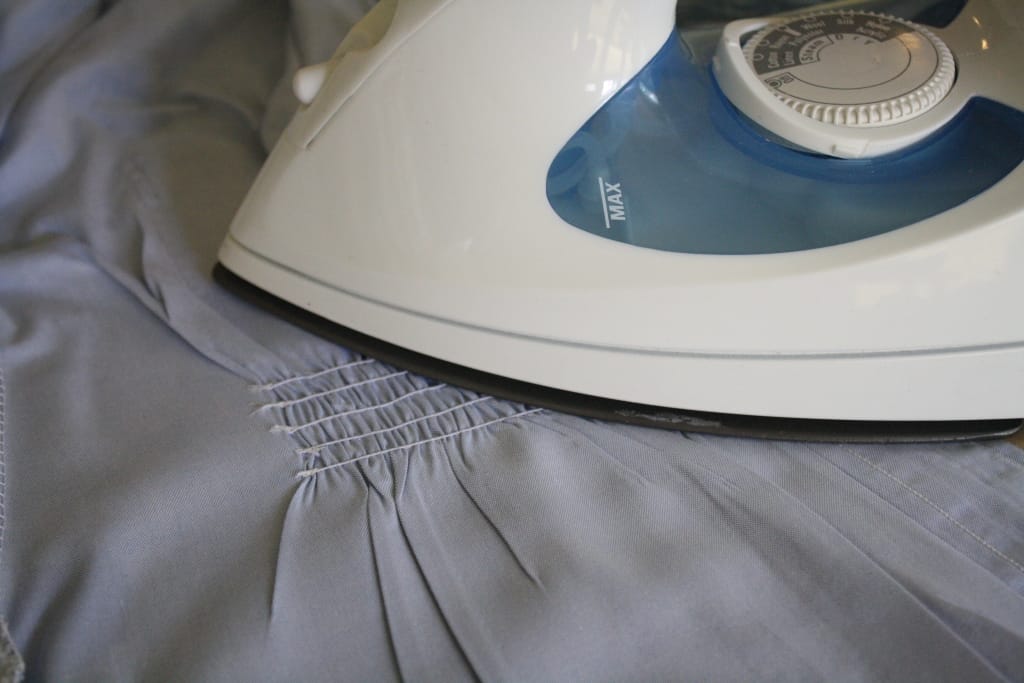
10) Turn our top inside out and spray the elastic with water, then press with your iron. This will help the elastic to recover a bit and will tighten up those shirred rows!
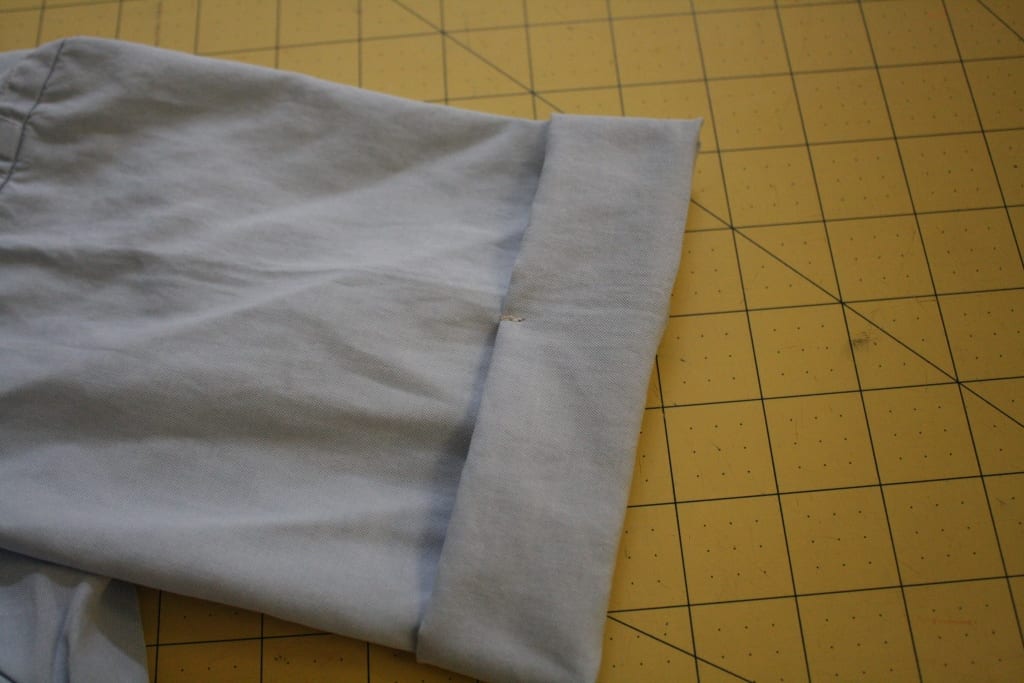
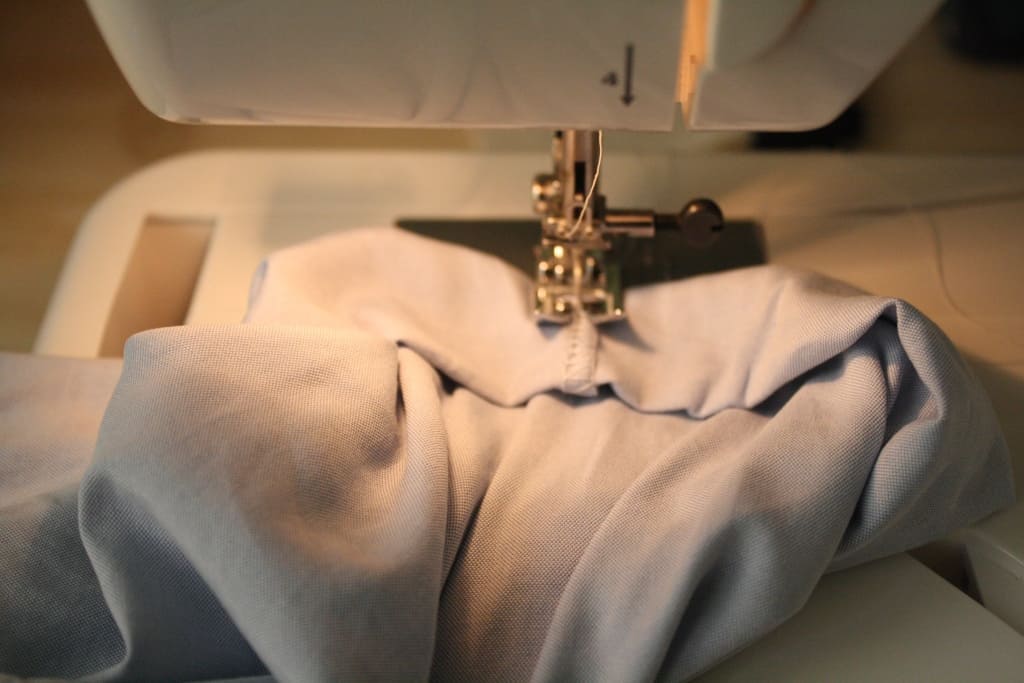
11) Almost done!! Roll up your sleeves till they’re just above your elbows, and then sew a few stitches to secure everything in place.
And that’s it!!! You’re done! Enjoy you’re cute little Anthro knock off!



That's really cute! What a great knockoff 🙂
cute! wish it was pinnable
What a fantastic tutorial. Your gift of teaching is awesome..even I could do this and I'm not a great 'sewer' 🙂
wow! is that ever great! I am going to try…
woww… I love this. I am going to try this.
Love this! Can’t wait to try it, it looks so simple!
[…] Shirred maternity tunic top from Pretty Prudent :: Another men’s dress shirt refashion. […]
[…] el enlace llamado “SHIRRED MATERNITY TUNIC TOP” encontraréis las instrucciones que he seguido yo para reconvertir una camisa de mi marido […]
[…] It’s been a little bit since we’ve had a maternity clothing tutorial, like the cute Shirred Maternity Tunic Top. This sewing project is a bit more detailed, but totally worth it. Conquer your fear of knits first […]
Thanks a lot for this great tutorial! It worked very bien (although I speak English only a little…)!
I had the problem that the button border was wide open beside the elastics. 🙁 I think it’s the best to make the elastics in height of a button?! I made a hidden press button on the button border now, this works and so the tunic is really wonderful!
[…] Tunika von Pretty Prudent […]