


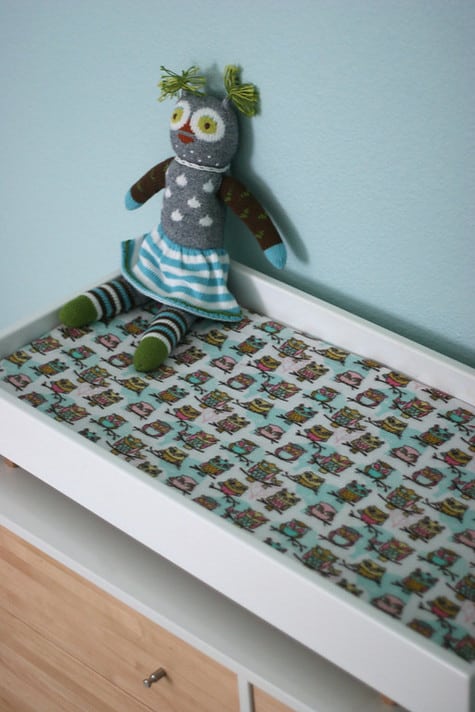
My changing pad in Quinn’s room is a little different than the style for which Jaime did the (gorgeous) DIY back in December. The dimensions on mine are 35″long x 16″ wide x 1″ deep. It came with the changing table, perhaps I was supposed to replace it with the more luxurious curved type? Poor Quinn.
At least she now has a cute and cozy flannel cover for her sub-par changing pad. Check out how to make a changing pad cover after the jump.
Start with 1 piece of (washed&ironed) fabric 40-42″ long x 22″ wide. It’s ok if the print does not go all the way to the edge of your fabric, it will be hidden.
1. On short side, with wrong side facing up, fold and iron 1/4″ seam and then fold and iron 1/4″ seam again. Repeat on other end.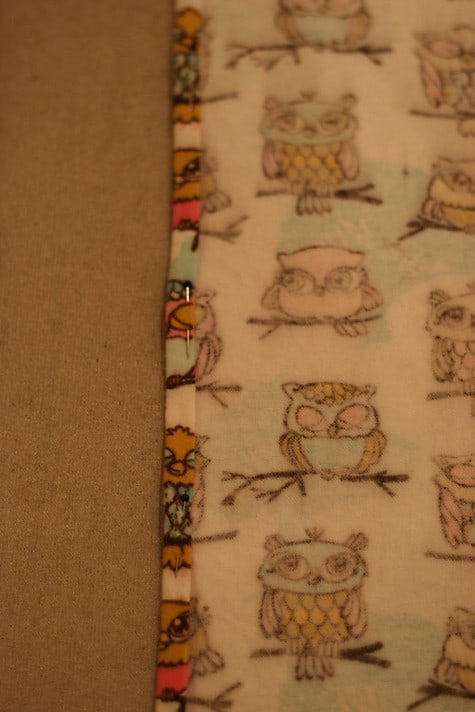
2. On one of the short sides that you just folded, pin the end of a 14″ length of elastic 3/8″ in from the end. Pin the other end of the elastic 3/8″ in from the other end.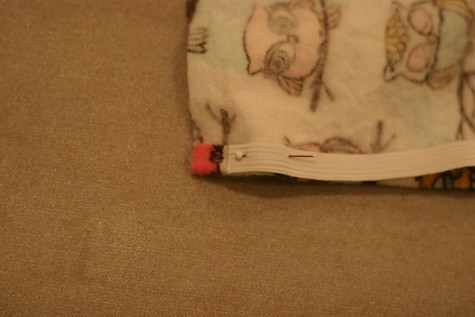
3. Now stretch it out and pin the elastic at several other points. It will look like this:
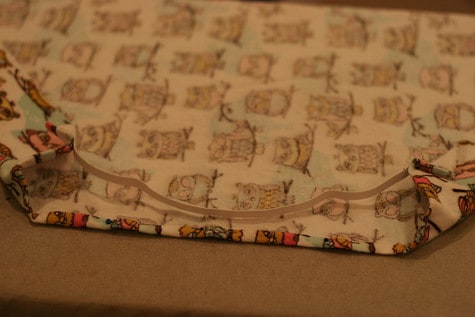
4. Stretch out the elastic to align flat with your fabric along the seam by holding the fabric behind the needle and in front of the needle and using a zig-zag stitch, sew the elastic to the fabric. 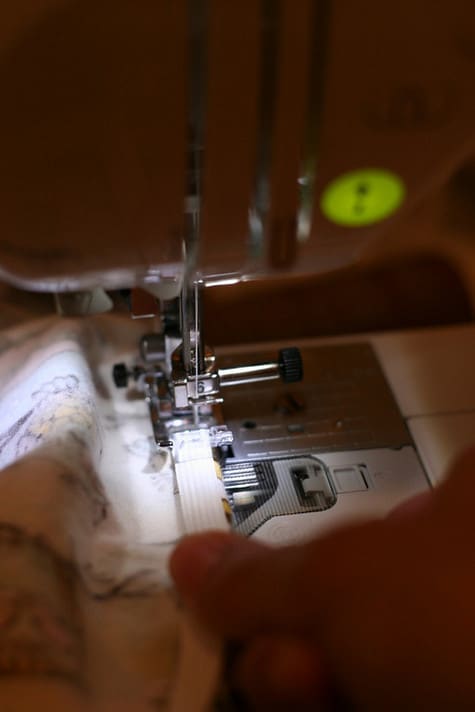
It will look like this:
5. Repeat this entire process from step 2 on the other short end.
6. With wrong side up, fold the short end over 3″ and pin on one side. At the other end of the length, fold over the other short end 3″ and pin along the same side. Check that your length is approx 35-36″, if not, adjust your folds.
7. Fold over the entire length by 1/4″ and iron and then fold over by 1/4″ and iron again. Make sure that your elastic is pinned into second fold.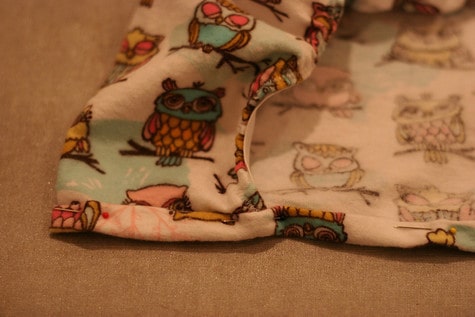
8. Using a straight stitch, sew along the entire length. If you get caught on the bulk of the elastic, raise your needle and push the fabric a little further in and resume sewing.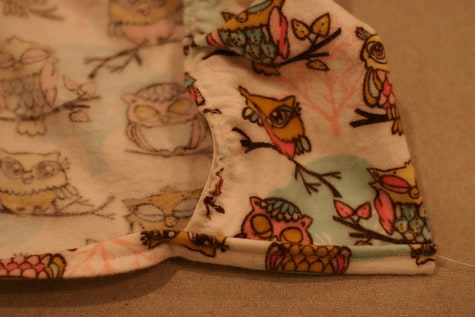
9. Repeat from step 6 on the other side of the length of piece.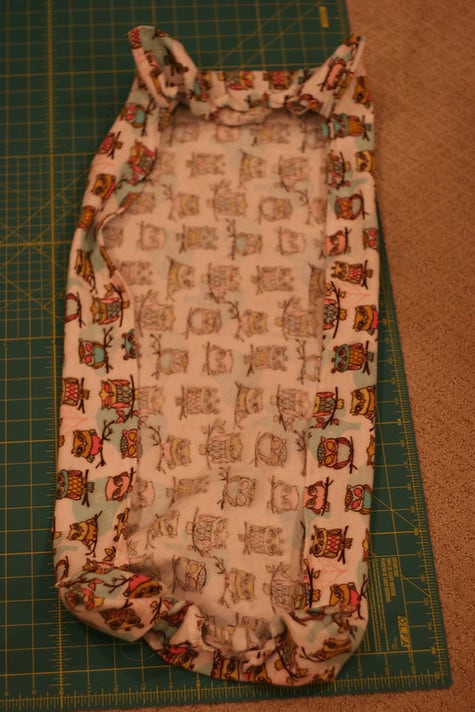
and that’s it!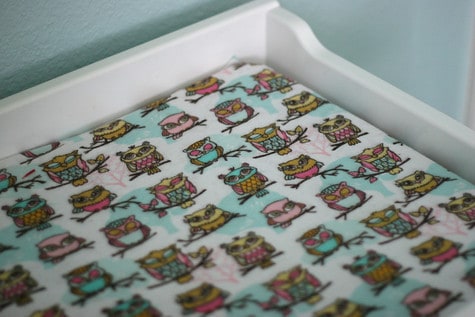
This cute owl fabric is marked “made exclusively for Jo-Ann Fabric.” I bought it a few years ago and haven’t seen it since. If you find some on EBAY, let me know. : )
oooh. that's one of my favorite fabrics. i have a tiny stash of it 😉 and if i ever need a changing pad cover again, ill be using this tutorial!!
ahhh this is so cute. and it would work for any sort of foam cover, like if you just bought a dresser and wanted to put a foam pad on it instead of a full-fledged changing pad
oh also, for the "mattress" that comes with a co-sleeper
Where is that little owl doll from – I love it?
I've been looking for a tutorial on this exact thing! Great job! I added you to our "link luv roundup" this week, come by for a peek! http://bit.ly/cz2eus
The owl is a Bla Bla Doll! They are a bit pricey but so cute and very likely to become your baby's best bud. And if not, they look adorable as props in photos. HA! I highly recommend suggesting one as a gift for baby. This guy was from Quinn's grammie
: )
Thank goodness for this tutorial! I've made two today and love them. Was unable to find flat changing pads at the stores so this is a lifesaver! I also love creating for my little man…
This tutorial was awesome! I made several of these out of pink minky and they fit perfectly! It was hard to find cute changing pad covers that fit a flat pad. And even harder to find a good tutorial to make them. THANKS! (I will be linking to this shortly.)